
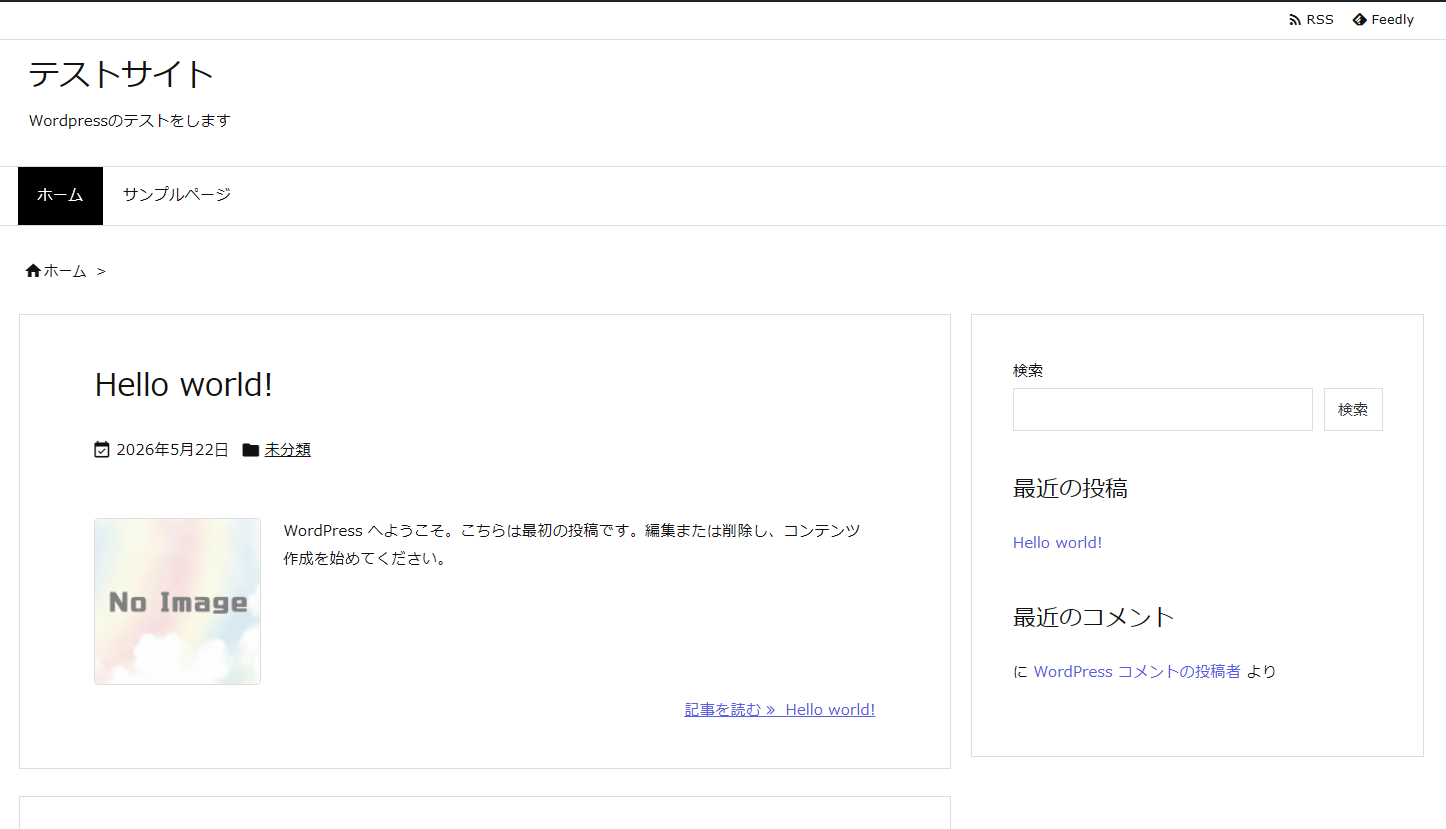
Click here for the Manjaro overview page


In this post, I’ll be installing XAMPP on Manjaro to set up a WordPress environment on my local network.
This can be used for learning or testing WordPress.
At first, I thought about installing Apache, PHP 8.5, and MariaDB, but since the process is different from Ubuntu-based systems, I gave up on that.
1. Installing XAMPP
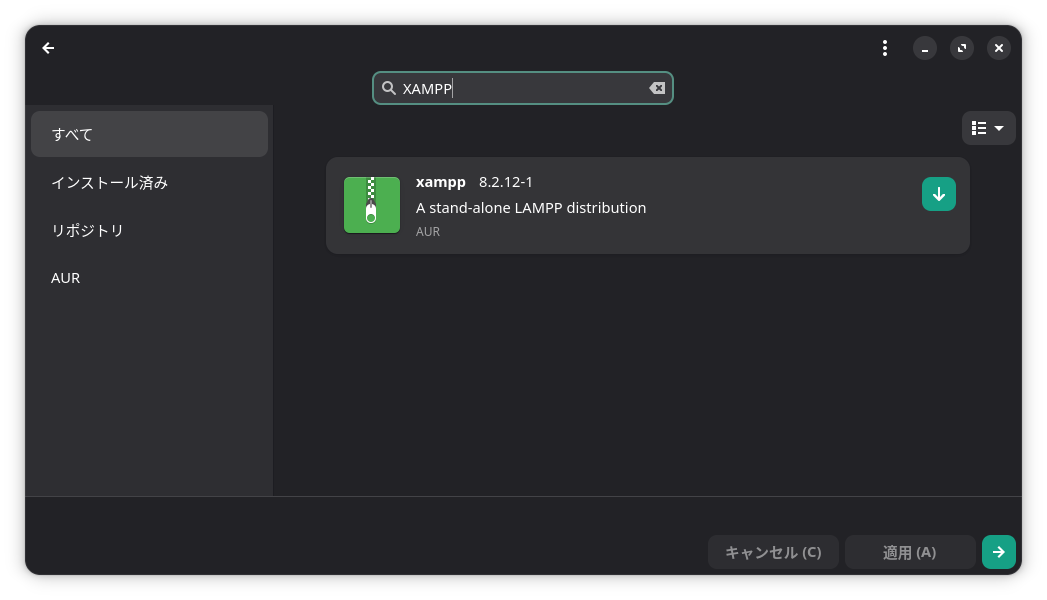
Search for XAMPP in "Add/Remove Software" and install it.

2. Start the Server
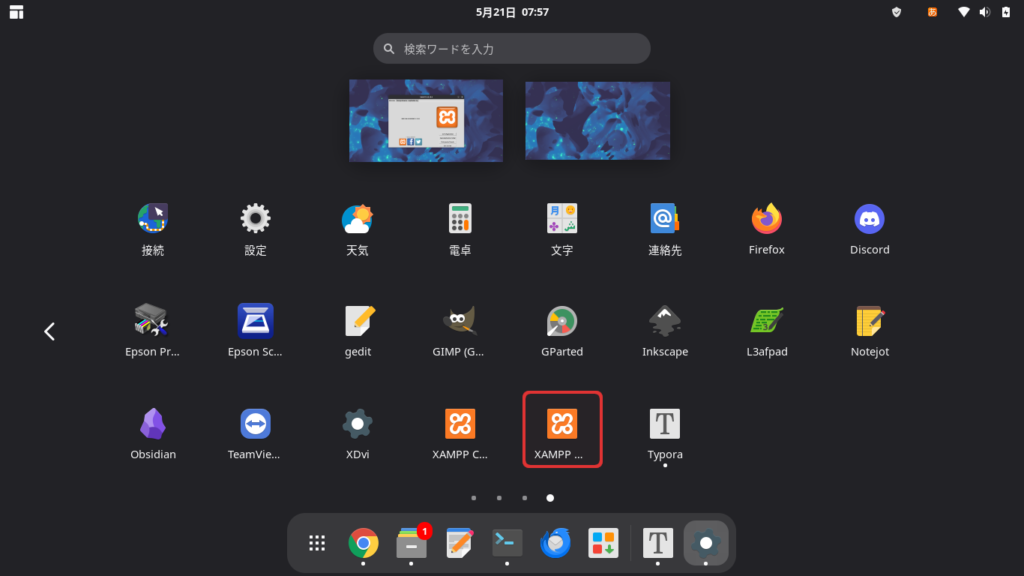
Launch XAMPP Manager from "Show Applications."

Click "Go To Application."
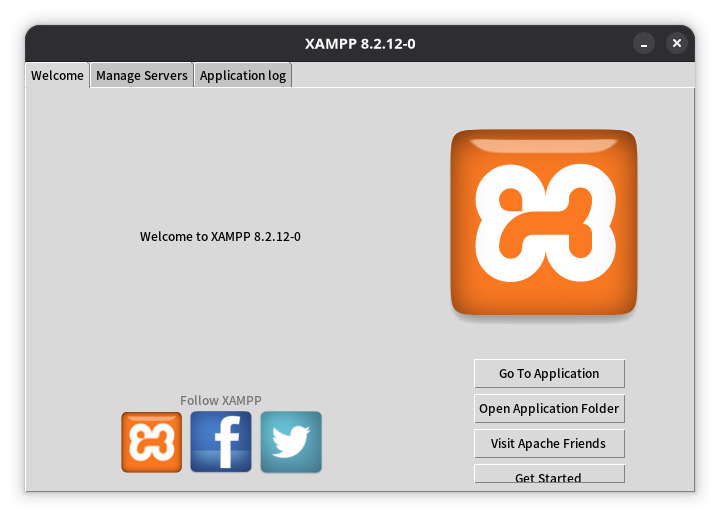
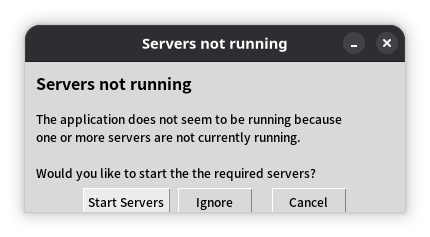
Click "Start Servers."
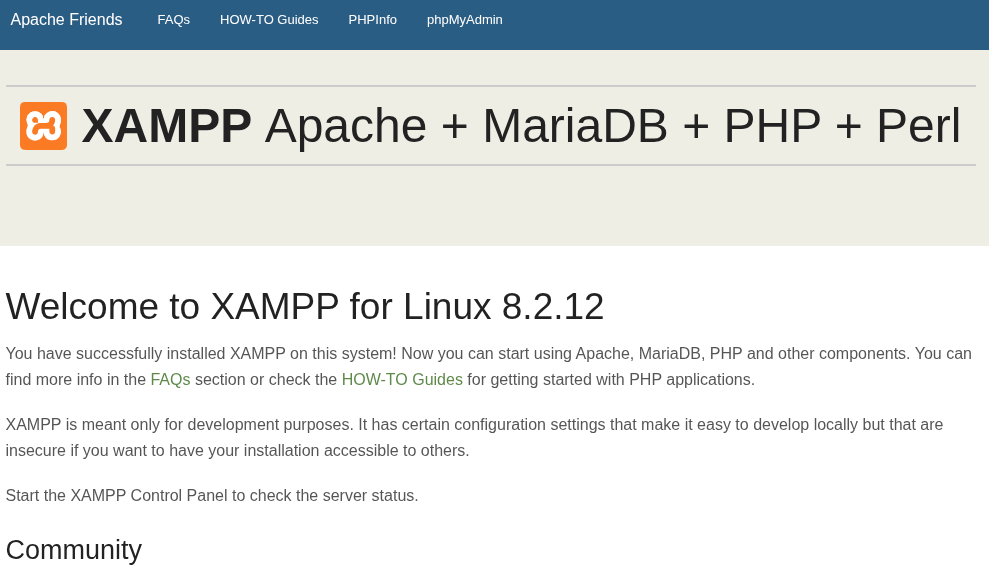
In your web browser, go to
in your web browser. If the following screen appears, the web server is running.
Please check the "Manage Servers" tab to confirm that all servers are running.
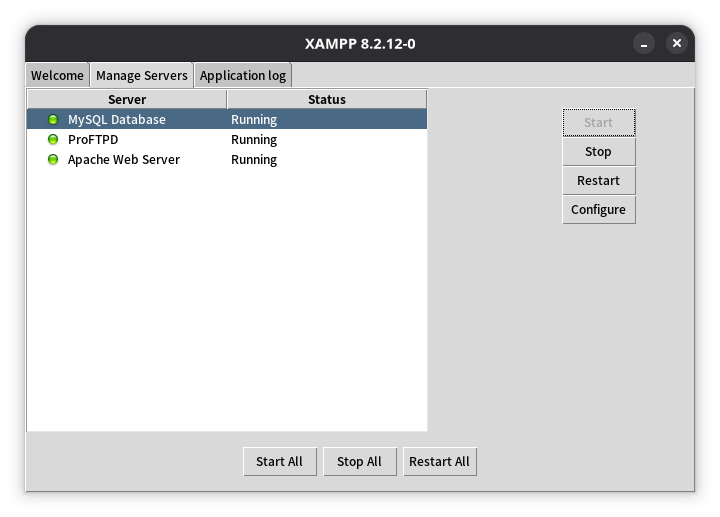
In my case, I had installed Apache and MariaDB myself, and since they were running, they conflicted with XAMPP, preventing XAMPP’s MySQL and Apache from starting.
Once I stopped the Apache and MariaDB I had installed myself, XAMPP’s MySQL and Apache started.


3. Create a database for WordPress
Open the URL above in your web browser.
Create a new database for WordPress in the "Databases" tab.
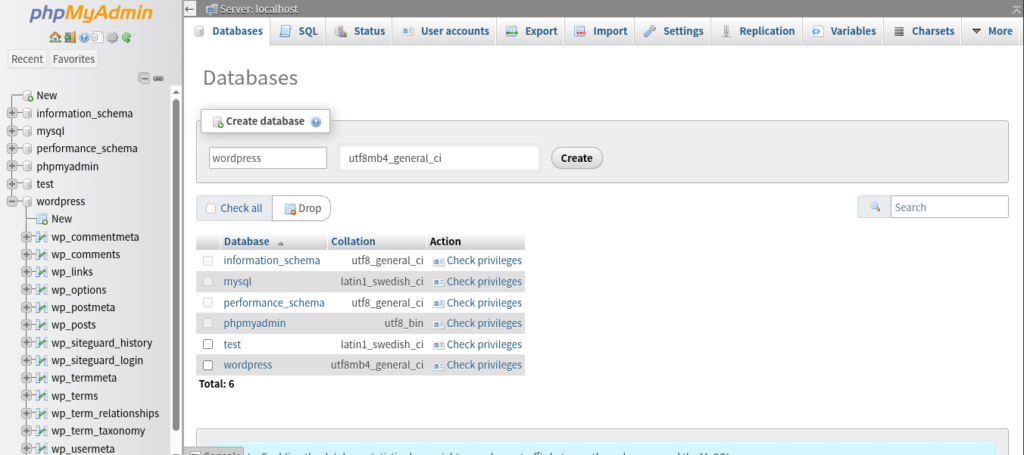
In the "Databases" tab, create a new database for WordPress.
Here, set the database name to "wordpress" and selectutf8mb4_general_ci.
utf8mb4 This is the setting recommended by WordPress.
Click the "Create" button.
4. Installing WordPress
Please download WordPress from here.

For now, download it to your Downloads folder and right-click to extract it.
Open the folder that was created after extraction.
You should see a folder named "WordPress".
Right-click inside that folder and select "Open Console Here".
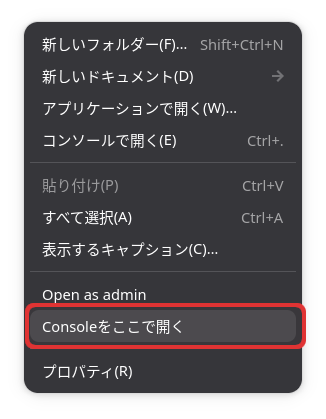
In the console, copy the contents to the XAMPP root directory: /opt/lampp/htdocs.
sudo cp -r wordpress /opt/lampp/htdocsThen, change the owner of the XAMPP root directory.
sudo chown -R daemon:daemon /opt/lampp/htdocs/Set write permissions for the WordPress folder.
sudo chmod -R 755 /opt/lampp/htdocs/wordpressOpen the following URL in your web browser:
When this screen appears, click "Let's get started."
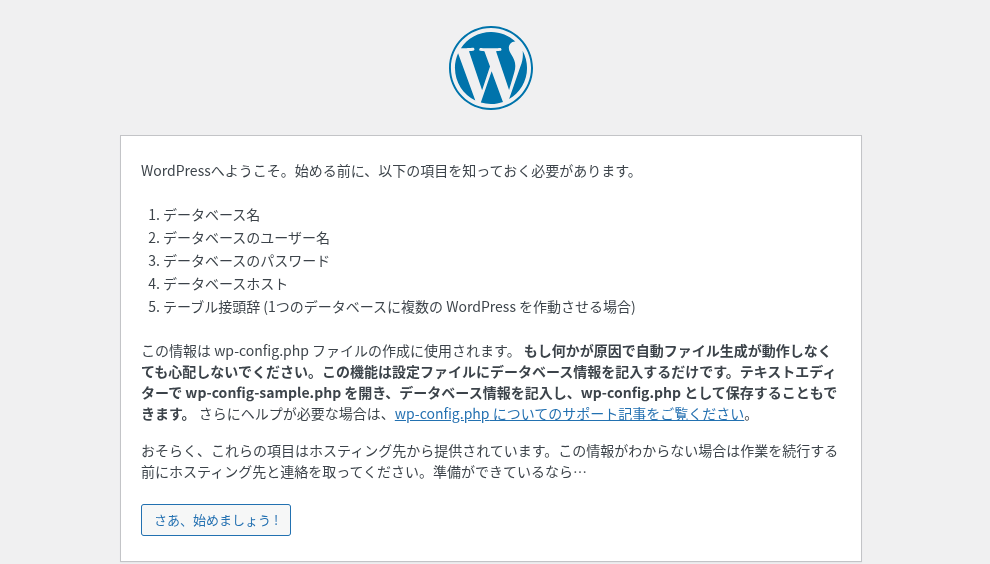
For "Database Name," enter "wordpress" (the one you just created); for "Username," enter "root"; leave the password field blank, and proceed without changing any other settings.
Since there is no wp-config.php file, this screen will appear.
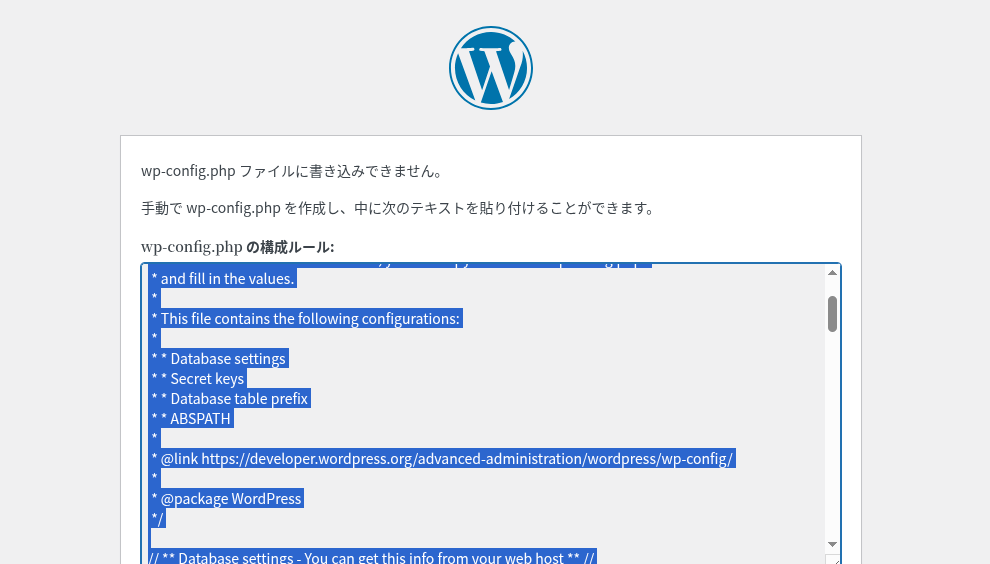
sudo cp /opt/lampp/htdocs/wordpress/wp-configur-sample.php /opt/lampp/htdocs/wordpress/wp-config.phpSo, create a wp-config.php file from the sample. Then, open the wp-config.php file in a text editor.
sudo gedit /opt/lampp/htdocs/wordpress/wp-config.phpSelect all the text highlighted on the web page, paste it into wp-config.php, and save the file.
Also, to prevent being prompted to use FTP when updating WordPress,
sudo gedit /opt/lampp/htdocs/wordpress/wp-config.phpEdit the wp-config.php file.
define('FS_METHOD', 'direct');Add the following to the end of wp-config.php.
Return to http://localhost/wordpress/ and click "Continue with Installation."
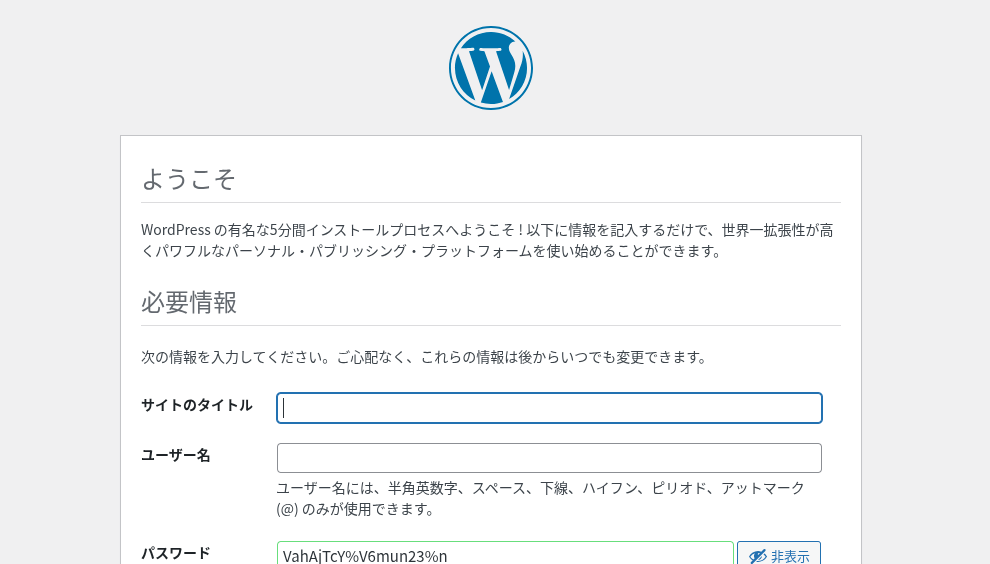
When this screen appears, enter your site name, username, and password to proceed.
Once you’ve logged into WordPress, set the site URL to your Manjaro PC’s private IP address, add HTTP to the firewall to allow access, and you’ll be able to view WordPress pages or log in to post from other PCs on your local network.
5. Configure XAMPP to start automatically when Manjaro boots
As it stands, XAMPP will stop if you reboot Manjaro.
Therefore, create a systemd service file for XAMPP.
sudo gedit /etc/systemd/system/xampp.service
In this file,
[Unit]
Description=XAMPP
After=network.target

[Service]
ExecStart=/opt/lampp/lampp start
ExecStop=/opt/lampp/lampp stop
Type=forking
RemainAfterExit=yes

[Install]
WantedBy=multi-user.target
Paste the above text into this file and save it.
Change the file permissions.
sudo chmod 644 /etc/systemd/system/xampp.service
Configure systemd to recognize the service you created so that it runs at startup.
sudo systemctl daemon-reload
sudo systemctl enable xampp.service
Start XAMPP.
sudo systemctl start xampp.service
Summary
To install XAMPP on Manjaro and set up a local WordPress environment, first install XAMPP from "Add/Remove Software" and start the server.
Create a database for WordPress using phpMyAdmin.
Next, download the WordPress ZIP file and extract it.
Copy the extracted WordPress folder to the XAMPP root directory, then change the ownership and write permissions.
Access localhost/wordpress in a web browser, enter the database name and username, and proceed.
Since there is no wp-config.php file, copy the highlighted text to overwrite wp-config.php.
Then, set the WordPress site name, username, and password, and create the site.
Configure XAMPP to start automatically when Manjaro boots up.
If you like this, please show your support.


