
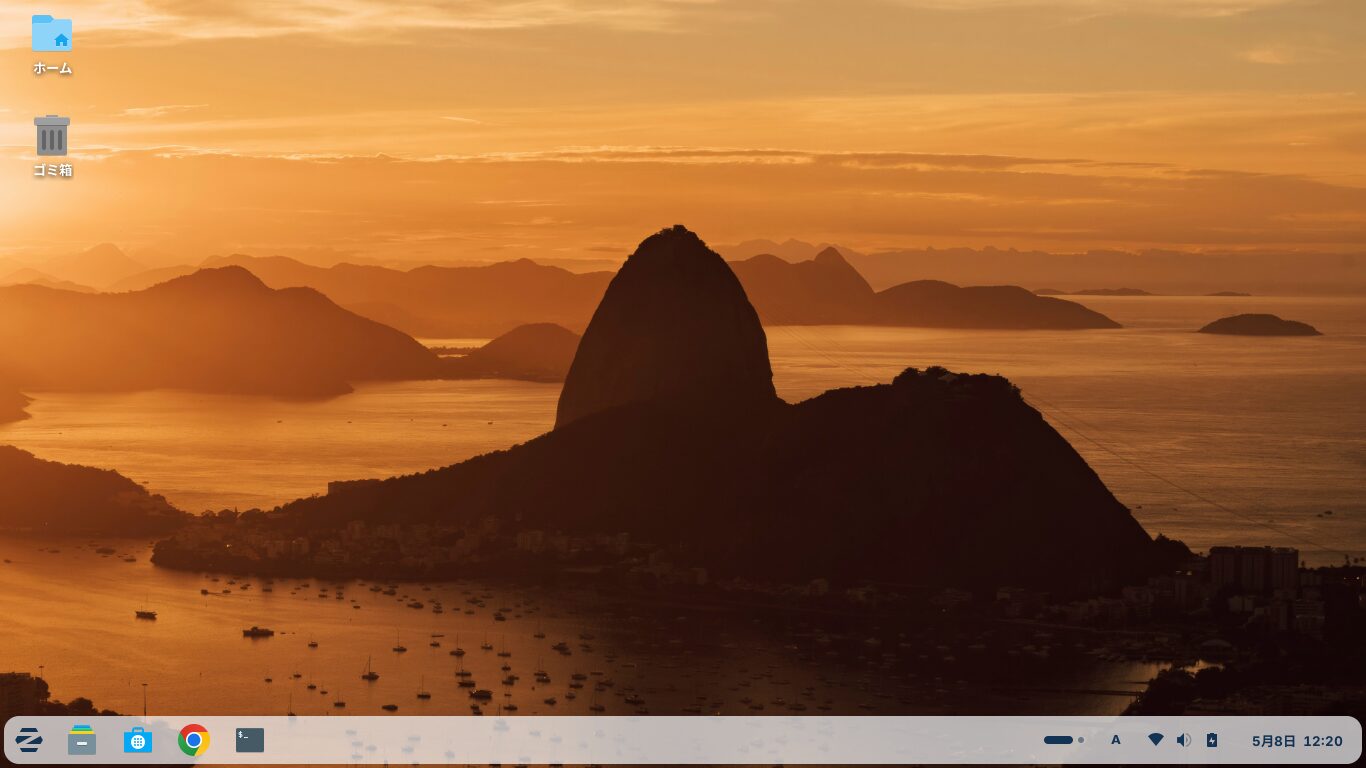
Zorin OS 18 was released on October 14, 2025, to coincide with the end of support for Windows 10, and was subsequently updated to Zorin OS 18.1 (as of May 6, 2026).
Zorin OS is a lightweight Linux distribution that is popular among Japanese users.
Since its interface is similar to Windows, it’s a good choice for switching from Windows to Zorin OS or for installing on an old Windows machine.
It runs very smoothly.
There are four versions: Pro (paid), Core, Education, and Lite.
While Pro, Core, and Education use GNOME as their desktop environment, Lite uses Xfce, making it an even lighter OS.
One of the drawbacks of Zorin OS is that app updates are slow.
This may be because it takes time to verify the apps and ensure their security.
In this post, I’d like to explain how to perform a clean installation of Zorin OS 18.1 Core.
Minimum hardware specifications
| CPU | 1 GHz Dual Core – Intel/AMD 64-bit processor |
| RAM | 2 GB |
| Storage | 15 GB (Core), 35 GB (Education), or 45 GB (Pro) |
| Display | 800 × 600 resolution |
The specifications of the machine I installed Zorin OS are as follows.
A Tsukumo notebook PC
Hardware Model: CLEVO CO. W240EU/W250EUQ/W270EUQ
Processor: Intel® Core™ i7-3610QM CPU @ 2.30GHz × 8
Memory: 16.0 GiB
Storage (SSD): 512.1 GB
It originally had a Core i3 processor, but I replaced it with a used Core i7.
I also upgraded the memory.
Click here for an Overview of Zorin OS 18.1 Core


1. Download the Zorin OS 18.1 Core ISO image
Download the Zorin OS 18.1 ISO image here.
Since I was using Zorin OS 17.3 Core, I downloaded the Zorin OS 18.1 Core ISO image.
Zorin OS 18.1 Pro is a paid version.
You can download Zorin OS 18.1 Lite from the page below.

If your computer has low specs, this might be a better option.
2. Install the downloaded ISO image onto a USB flash drive as a bootable drive
In this guide, we’ll use balenaEtcher—which is also mentioned in the Zorin OS installation guide—to create a bootable USB drive.
Zorin OS Installation Guide
The installation guide also lists other applications, such as Rufus, that can be used as alternatives to balenaEtcher. Please choose the one that best suits your environment.
balenaEtcher

The Zorin OS guide recommends a 4GB USB drive for the Core and Lite editions and a 16GB USB drive for the Pro and Education editions, but I installed the Core edition on a 16GB USB drive just to be safe.
Insert the USB flash drive you prepared into the PC where balenaEtcher is installed.
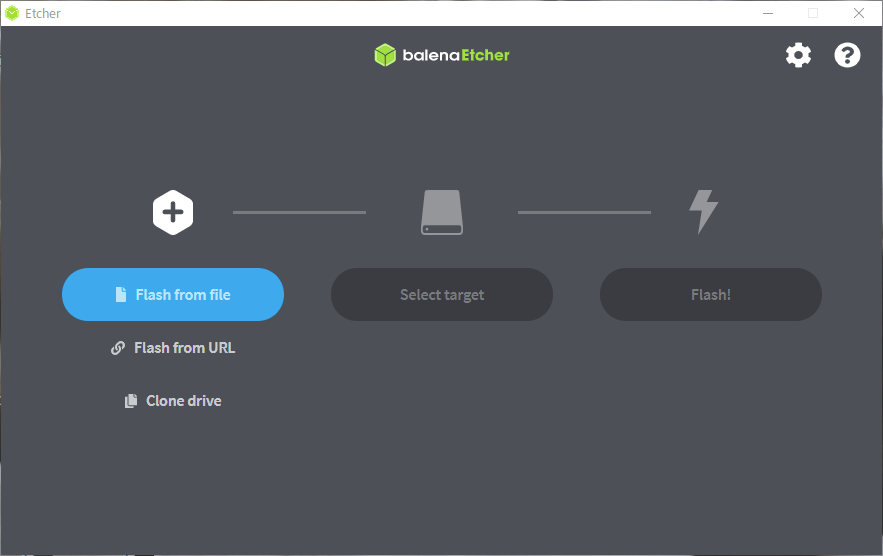
Launch balenaEtcher and click the “Flash from file” button to select the downloaded Zorin OS 18.1 ISO image.
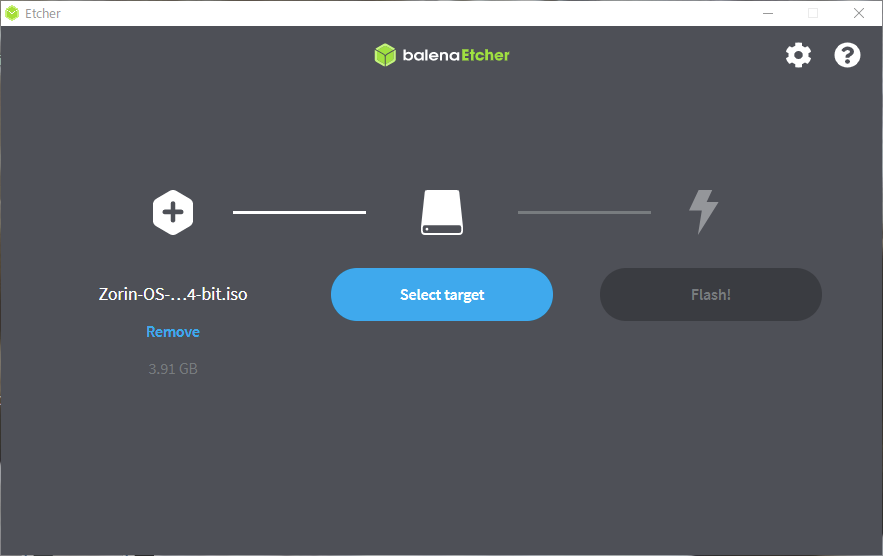
Use the “Select target” button to select your USB flash drive.
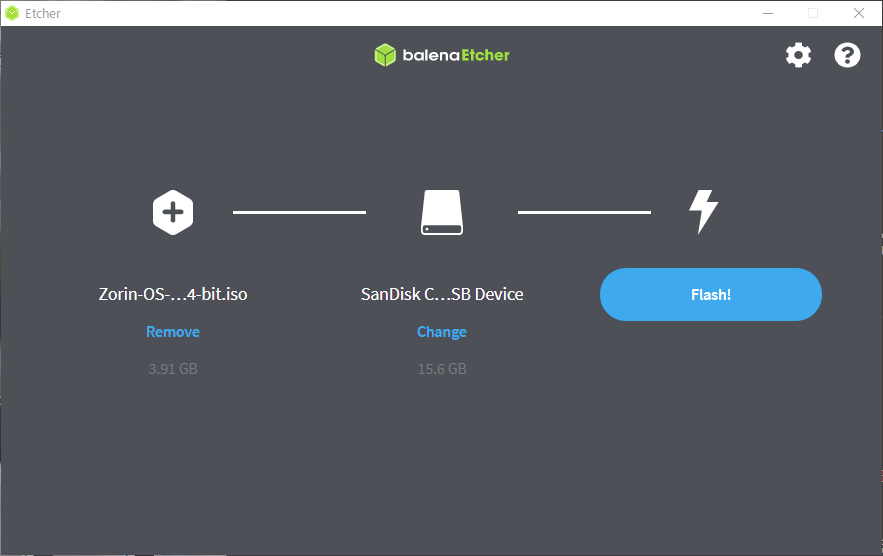
Once you've made your selection, click the “Flash!” button.
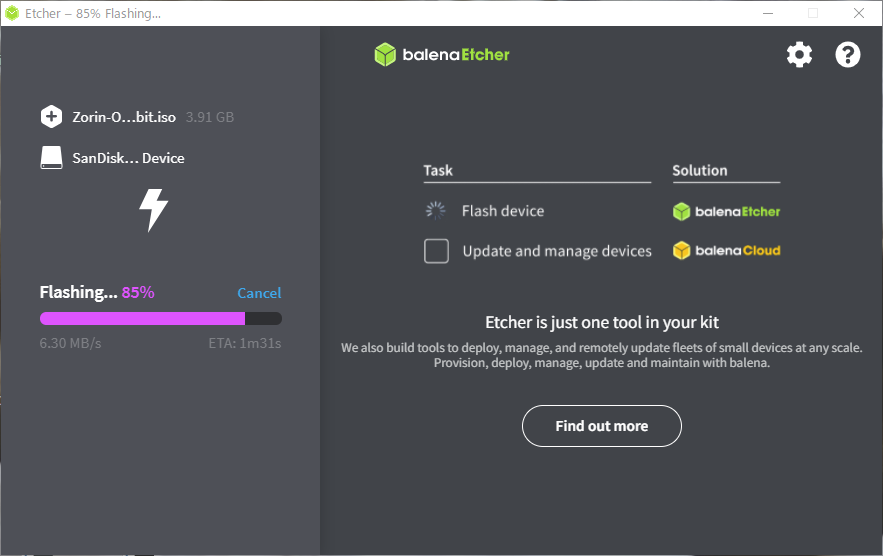
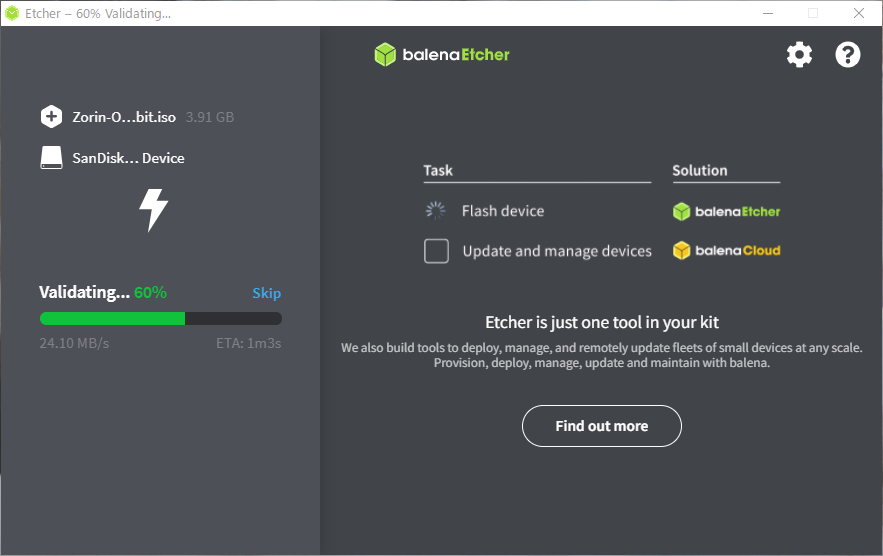
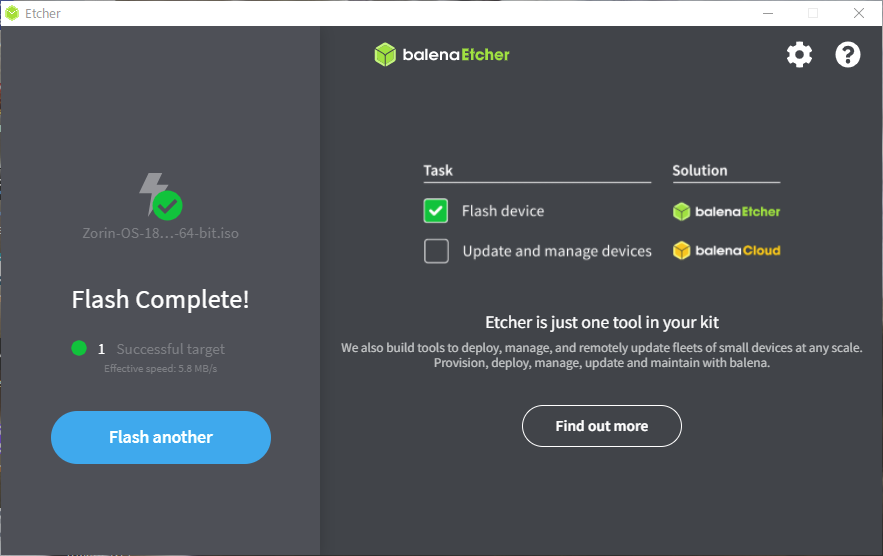
In my case, it took about 15 minutes (because I was using USB 2.0).
Once the writing process is complete, remove the USB flash drive.


3. Installing Zorin OS 18.1 Core
Perform a clean installation of Zorin OS 18.1 Core.
A clean installation will erase all data on the target drive, so please back up your data to an external drive or a drive other than the one where you will install Zorin OS 18.1 Core.
Turn off the computer you want to install the OS on, and insert the USB flash drive.
Next, turn on the computer and press a key such as F2, Delete, or F12 to enter the BIOS or UEFI settings, then configure the system to boot from the USB flash drive.
Select “Try or Install Zorin OS,” or if you are using an NVIDIA graphics card, select “Try or Install Zorin OS (modern NVIDIA drivers).”
The checksum verification will begin. Please wait for a moment.


Zorin OS will boot from the USB flash drive.
The installation window will open.
Select your language from the language selection on the left, and for now, click “Try Zorin OS.”
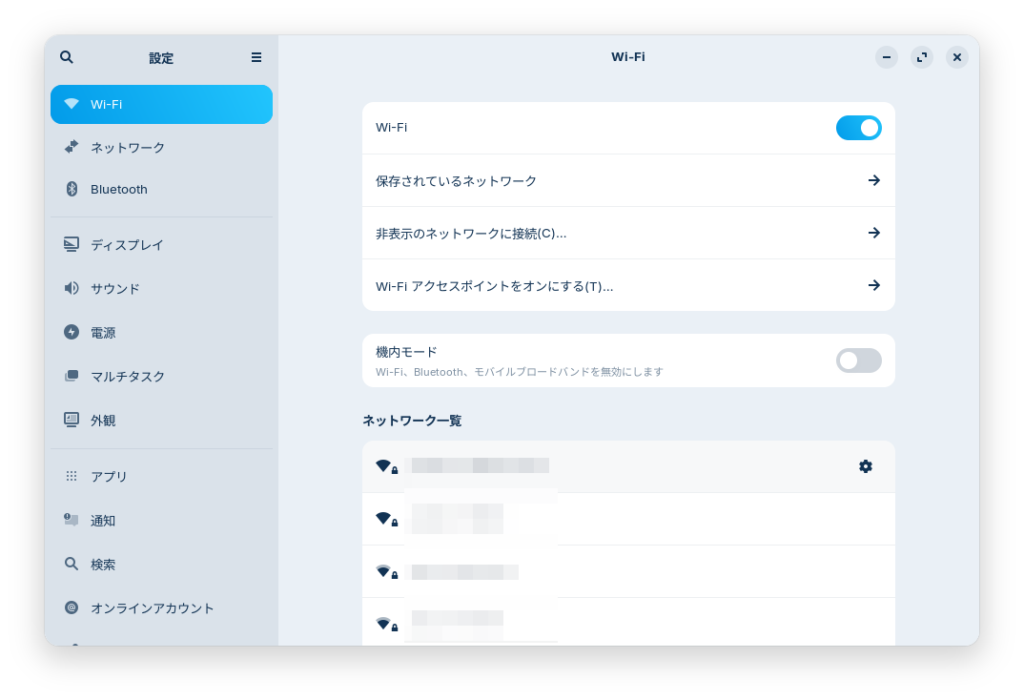
If you're connected to the internet during installation, the latest version will be downloaded and installed, so make sure to connect to Wi-Fi using an Ethernet cable or by going to the Start button > Settings.
However, the installation process may take some time.
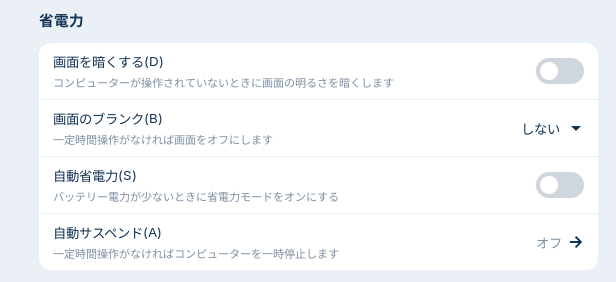
To prevent the system from going into sleep mode or similar states during installation, go to Start > Settings > Power and turn it off.
If you're installing on a laptop, connect the AC adapter to ensure the power doesn't run out.
Key Point
Make sure your computer doesn't go into sleep mode or shut down during the installation.
Double-click the “Install Zorin OS 18.1” icon in the upper-left corner.
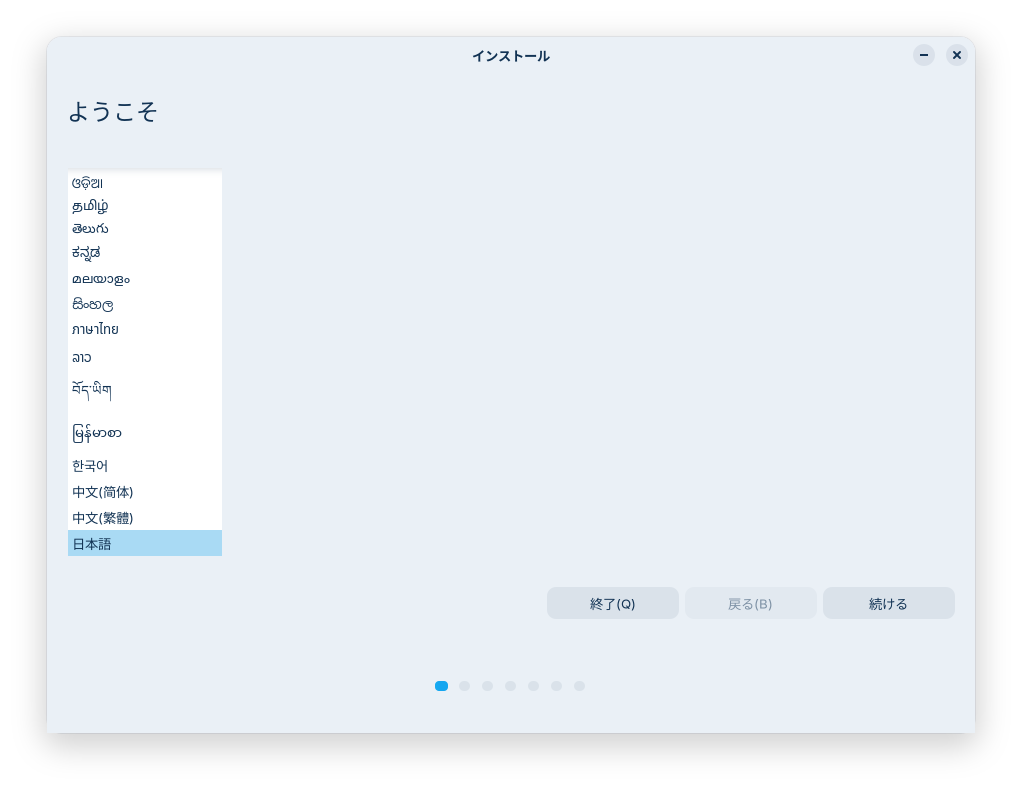
Select your language and click “Continue.”


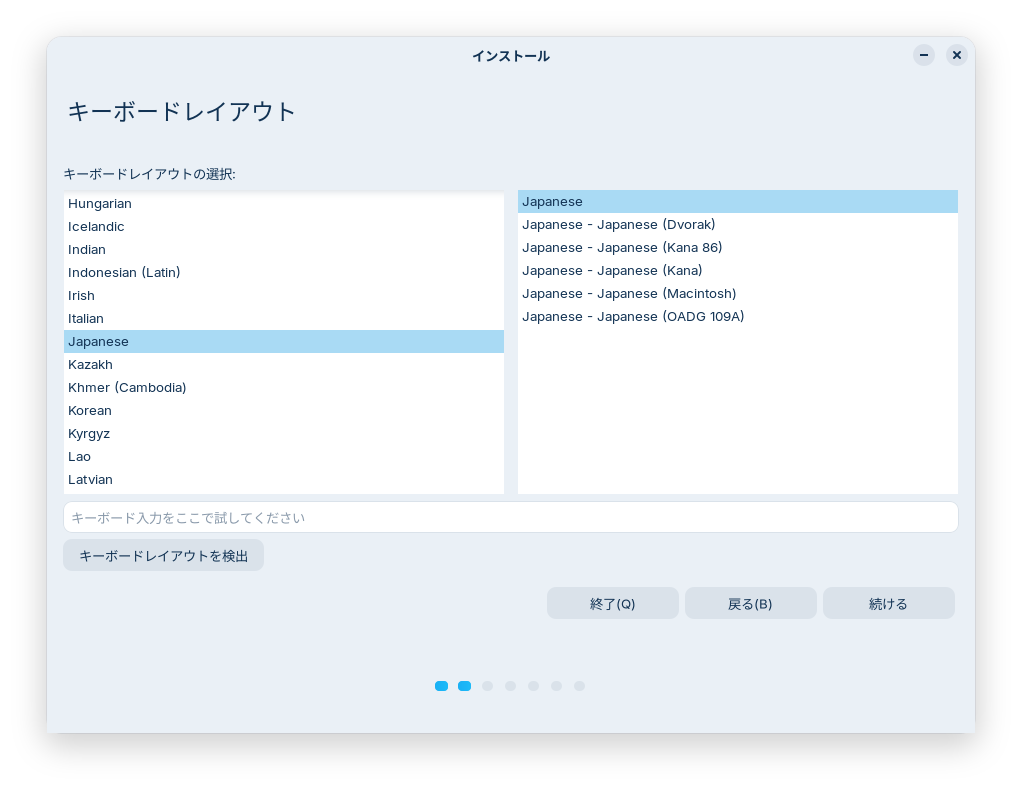
Click “Continue” without changing the default settings.
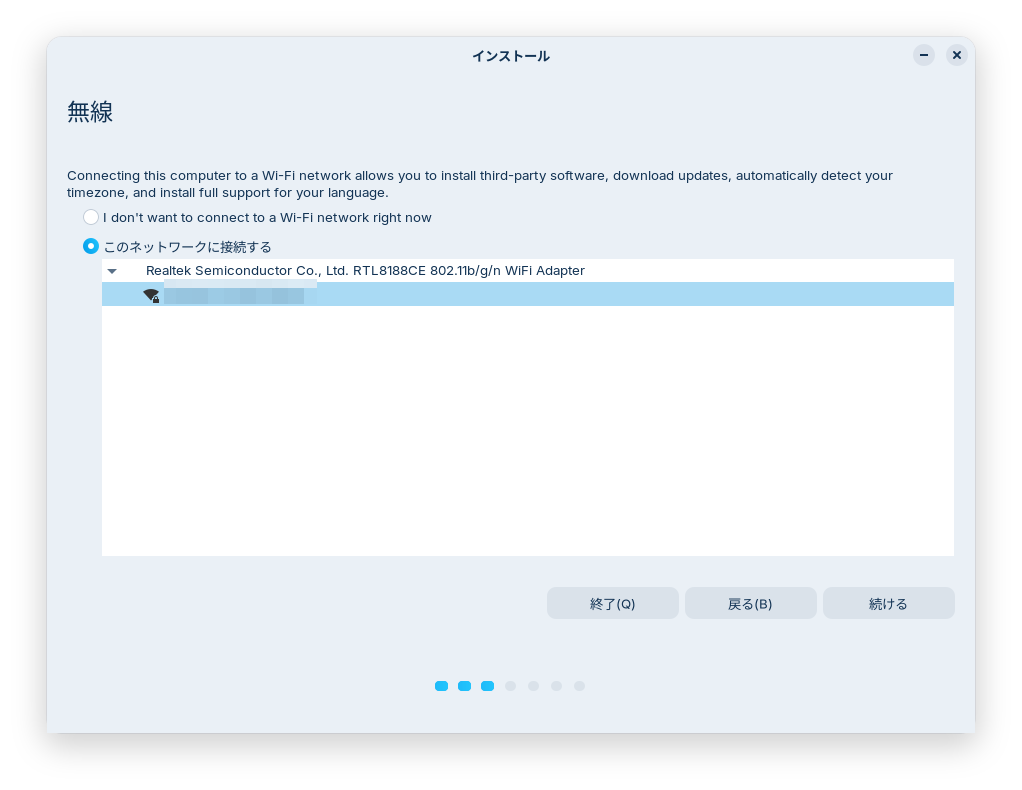
Connect to the network and click “Continue.”
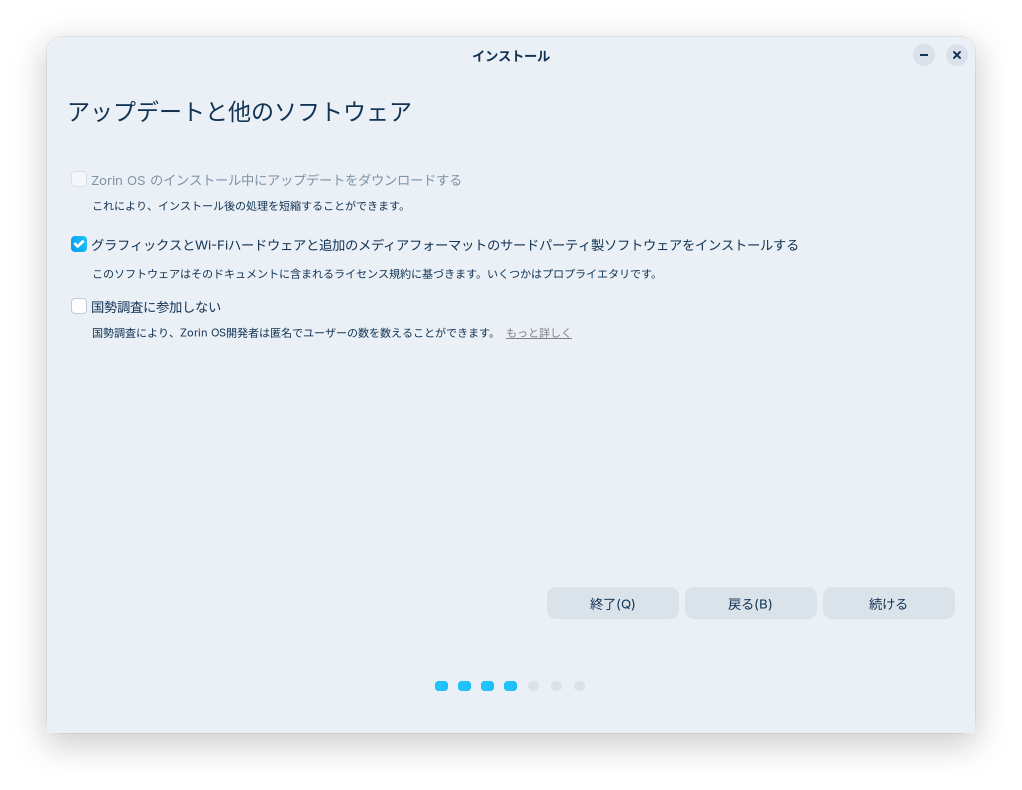
Under “Updates and other software,” check the box for “Install third-party software for graphics, Wi-Fi hardware, and additional media formats”, and leave the “Do not participate in the census” box unchecked (or check it if you prefer) before clicking “Continue.”
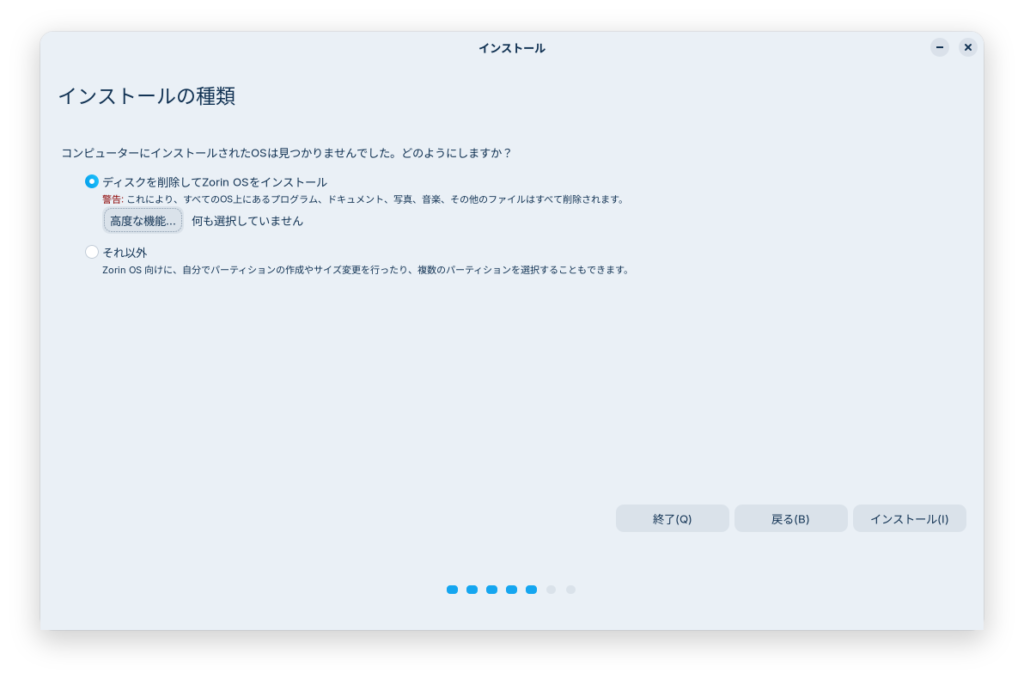
Since we're performing a clean install this time, check the box next to “Erase disk and install Zorin OS”, then click the “Install” button.
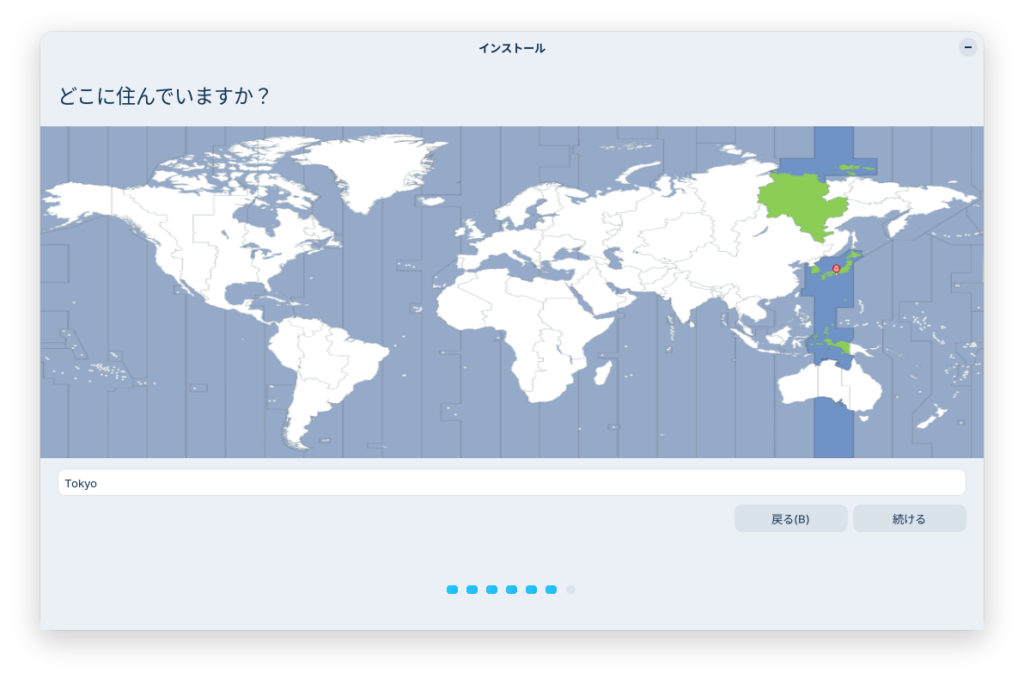
Please select your time zone.
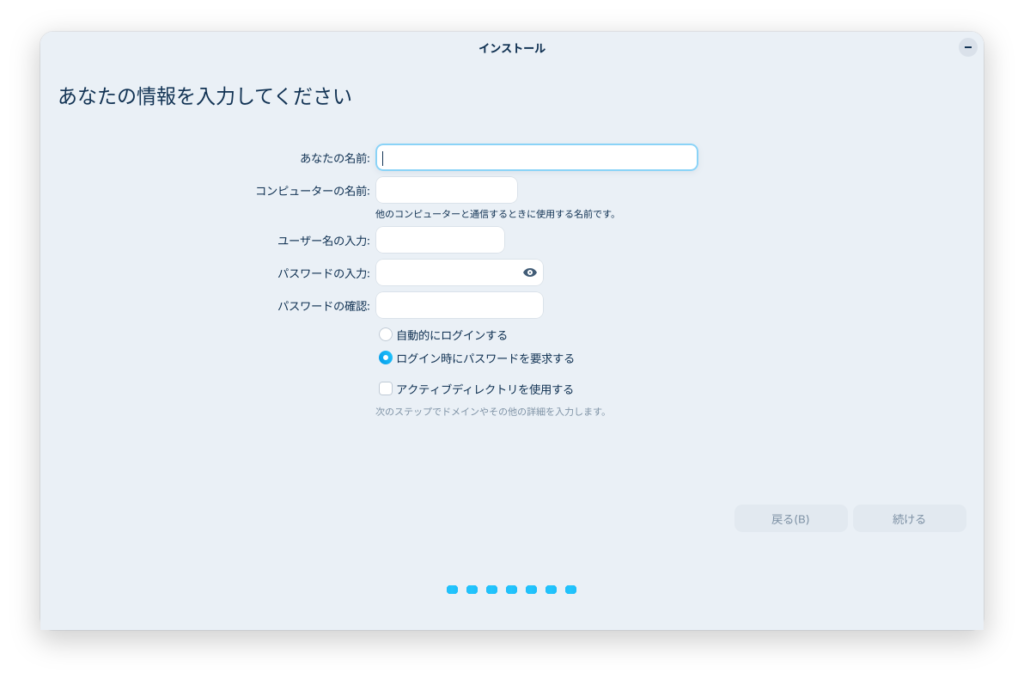
Enter the name you chose, the computer name, your username, and your password, then click “Continue.”
The username and password you enter here will be the ones used onTerminal.
The installation will begin.
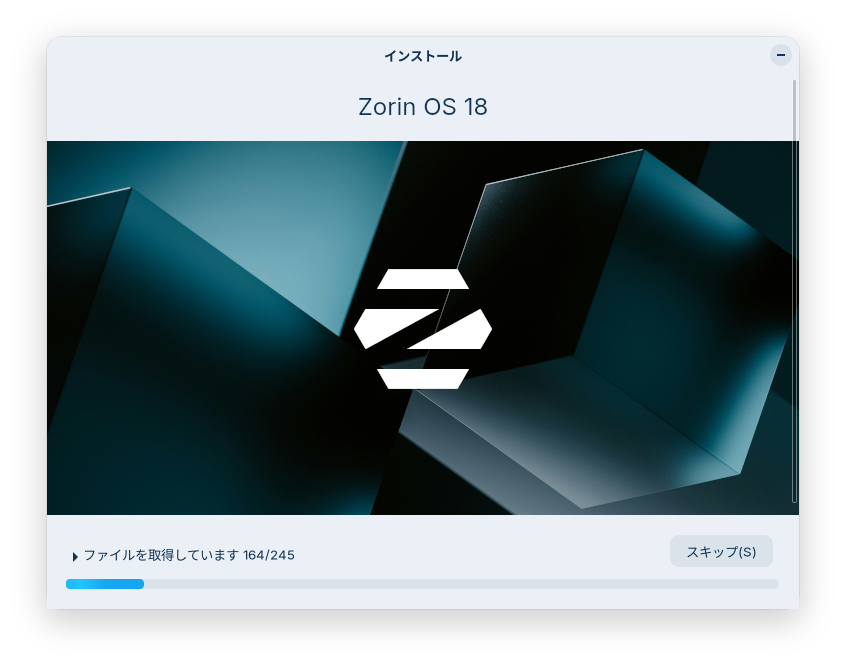
Once the installation is complete, restart your computer as instructed on the screen.
When restarting, remove the USB flash drive and press the Enter key.

4. After reboot
After restarting and logging in to Zorin OS, be sure to go to the Start button > System Tools > Software Updates.
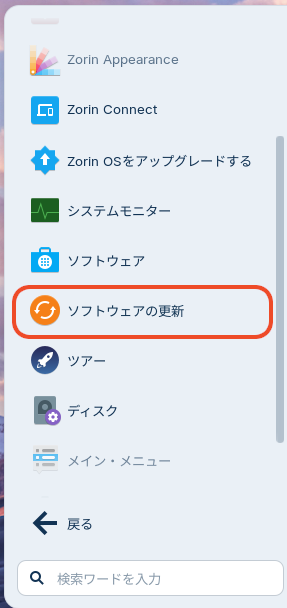
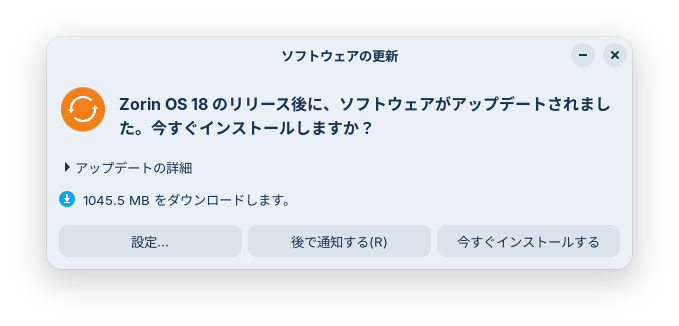
After updating the software and restarting if necessary, open the Start menu, go to Utilities, and then open Terminal.
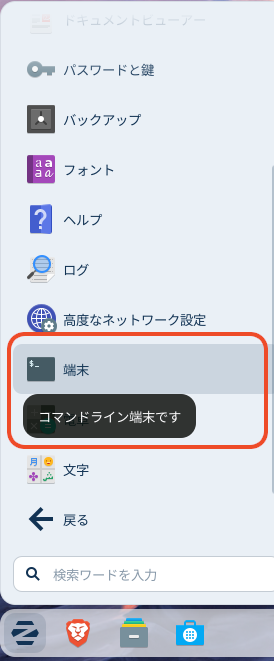
Then, run the command. This is GUI Firewall settings.
sudo gufw
A window like the one shown in the image will open; please check the “Status” box.
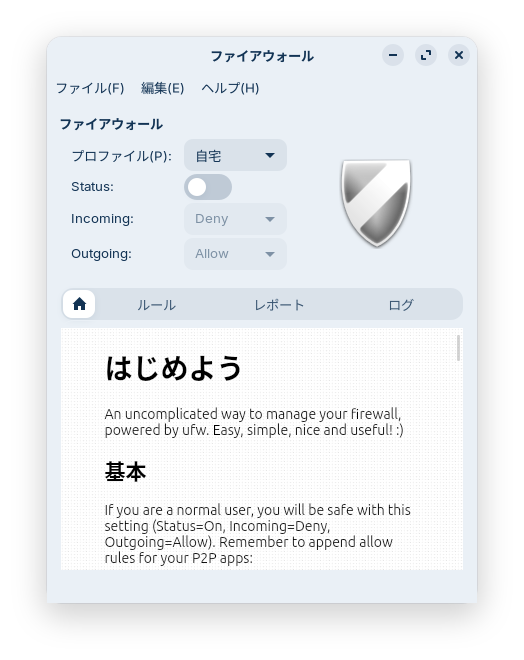
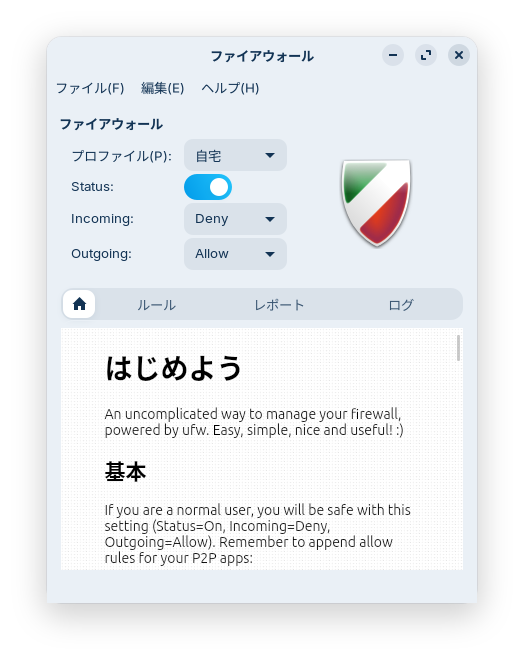
This will enable the firewall.
Please make sure that “Incoming” is set to “Deny” and ‘Outgoing’ is set to “Allow.”
Please be sure to do this as well.
Important Notes
Once the installation is complete, restart your computer and log in. Then, update the system to the latest version via Software Updates and enable the firewall using gufw.


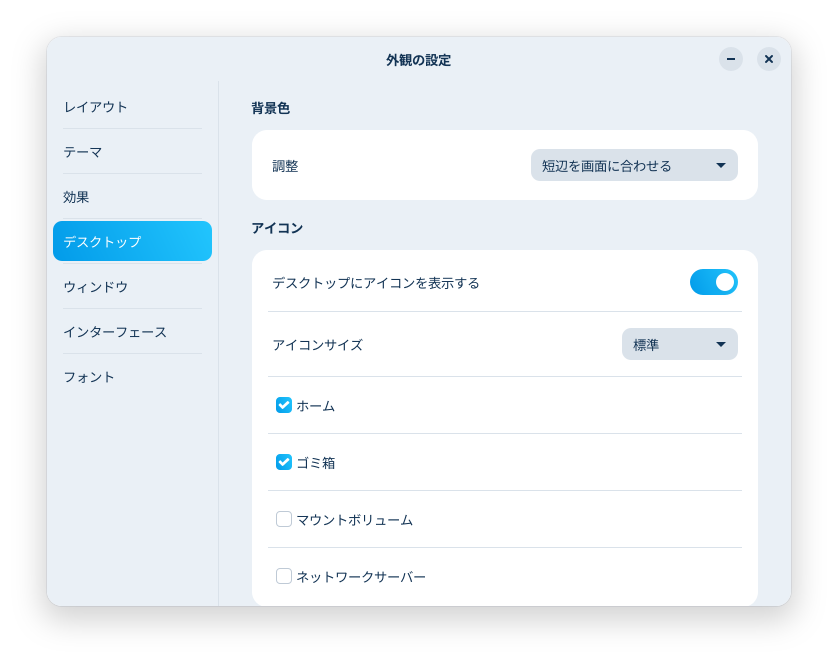
To display icons such as the Recycle Bin on your desktop, click the Start button, go to System Tools > Zorin Appearance, and check the boxes next to the icons you want to display on the “Desktop” tab.
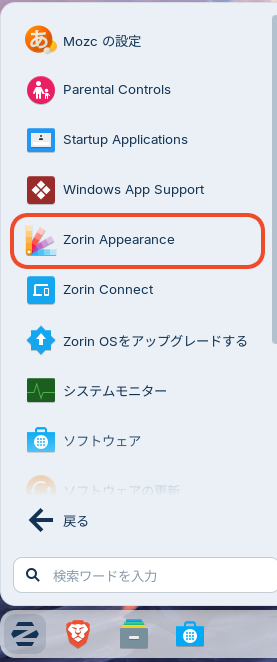
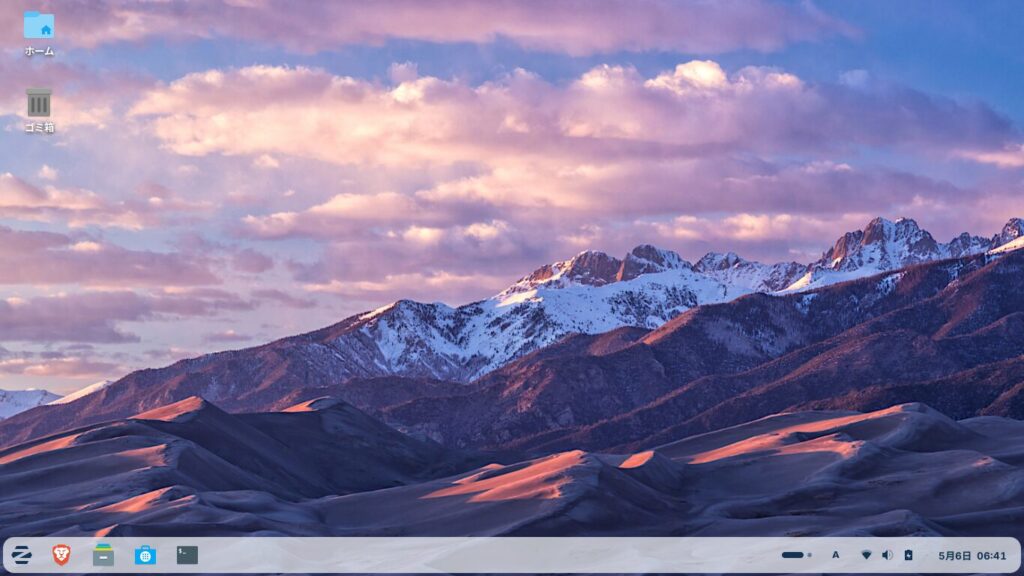
Apart from the rounded taskbar, the appearance is largely unchanged from version 17.3.
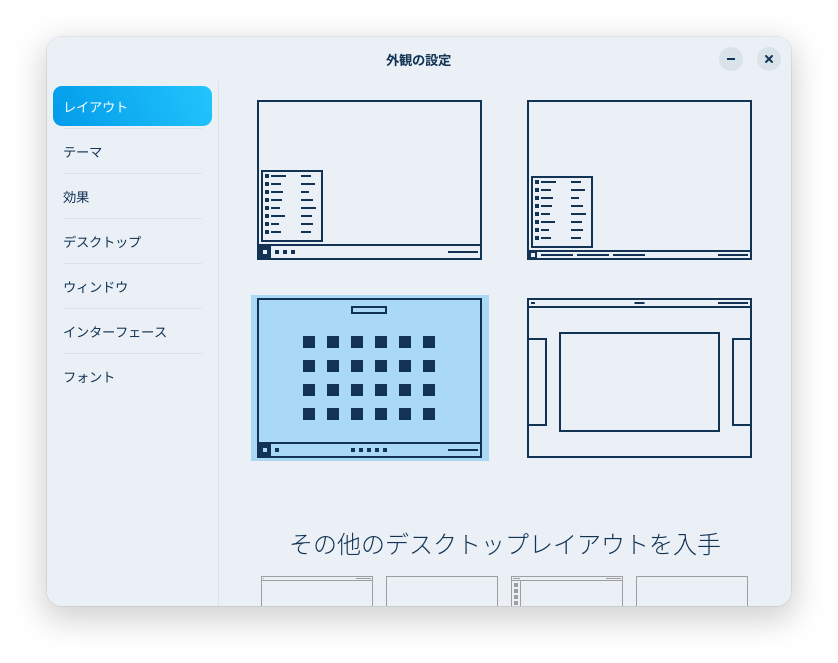
You can also set up a Windows 11-style layout in the “Layout” tab of Zorin Appearance.
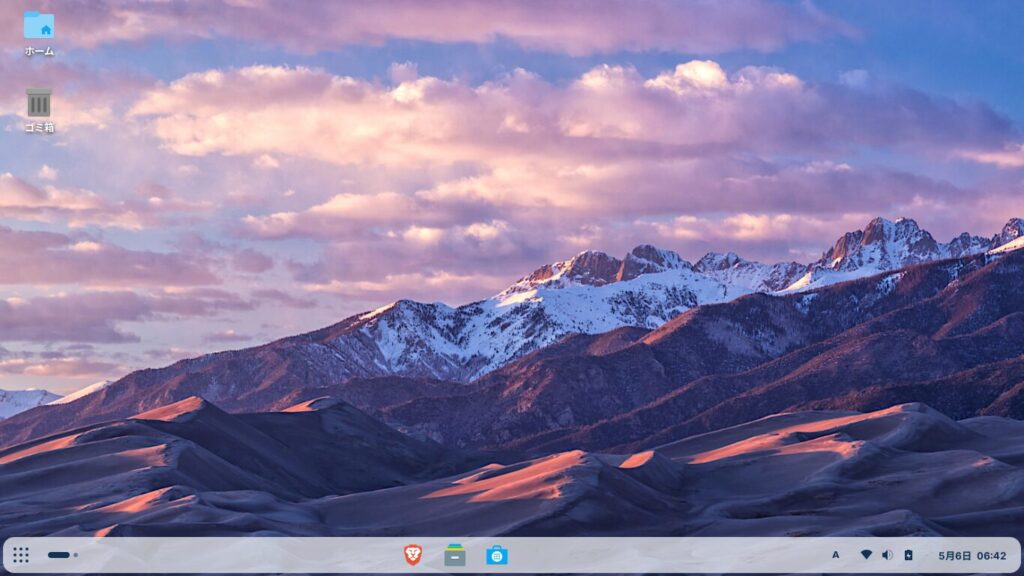
That completes the installation of Zorin OS 18.1.
Good job!
Summary
To perform a clean installation of Zorin OS 18.1, first download the ISO image from the Zorin OS website. Use a tool like balenaEtcher to create a bootable USB drive from that ISO image.
Turn off the PC you want to install the OS on, insert the USB drive, and turn the PC back on. Immediately after turning on the PC, press the F2 or Delete key to enter the BIOS or UEFI settings, and configure the system to boot from the USB drive.
Once Zorin OS 18.1 boots from the USB drive, configure the network settings and ensure the system won’t go into sleep mode during installation.
Double-click the “Install Zorin OS 18.1” icon in the upper-left corner. Check the box for “Erase disk and install Zorin OS,” enter your name, computer name, username, and password, then click “Continue.”
Once the installation is complete, be sure to update the software to the latest version and enable the firewall.
よろしければ応援お願いします


