

In this post, I’d like to explain how to set up a local WordPress environment by installing a web server, PHP, and MariaDB on a PC running Zorin OS 18.1 Core.
By installing WordPress on a local environment, you can use it for learning and testing.
Click here for an Overview of Zorin OS 18.1 Core


1. Installing the Apache Web Server
Installing Apache
sudo apt -y update
Install Apache.
sudo apt -y install apache2
Configure it to start automatically when the computer boots up.
sudo service apache2 start
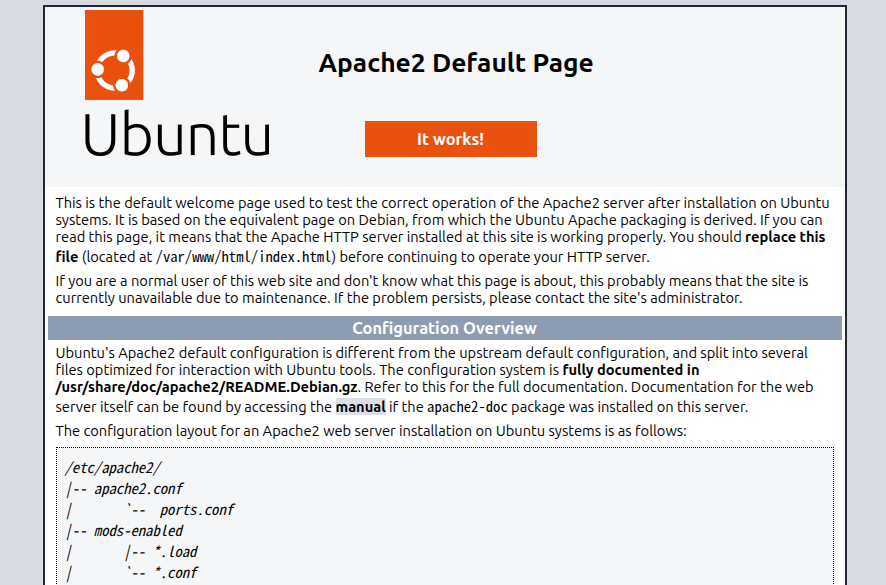
Access 127.0.0.1 or localhost in your web browser.
http://localhost/
If a screen like the one shown in the image appears, the web server is working properly.


Enable mod_rewrite
When you install Apache, mod_rewrite is installed by default. However, it is not enabled, so if you don’t enable it, you may encounter errors when trying to save posts in WordPress. Therefore, let’s enable mod_rewrite.

sudo a2enmod rewrite
Next, we will edit the Apache2 configuration file.
sudo gedit /etc/apache2/apache2.conf
Around line 170,
<Directory /var/www/>
Options Indexes FollowSymLinks
AllowOverride None
Require all granted
</Directory>
Change
AllowOverride None
to
AllowOverride ALL
and save the file.
Then, restart Apache2.
sudo service apache2 restart


2. Installing PHP 8.5
Install PHP 8.5 on Zorin OS 18.1 Core.
sudo apt update
sudo apt -y install software-properties-common
sudo add-apt-repository ppa:ondrej/php
sudo apt update
If there are any packages available for upgrade at this point, please upgrade them using the command.
sudo apt upgrade
Install PHP 8.5.
sudo apt -y install php8.5
Add the MariaDB extension to PHP.
sudo apt install php8.5-mysql
Check the version.
php -v
PHP v8.5.6 has been installed.
3. Installing MariaDB
Install the database required for WordPress.
Run the following command.
Install MariaDB.
sudo apt -y install mariadb-server mariadb-client
Start MariaDB.
sudo service mariadb start
Check the version.
sudo mariadb -v
4. Create a Database for WordPress
Log in to MariaDB.
sudo mariadb
Create a database for WordPress in MariaDB.
CREATE DATABASE wordpress DEFAULT CHARACTER SET utf8;
Create a MariaDB user for WordPress
Create a database user.
CREATE USER 'wpuser'@'localhost' IDENTIFIED BY 'password';
In the example above, the username is “wpuser.” Please change the “password” portion to your own.
GRANT ALL ON wordpress.* TO wpuser@localhost IDENTIFIED BY 'password';
Please keep the username and password in a safe place, as they are required for the WordPress installation.
Next, enter the following command to save the changes to MariaDB.
FLUSH PRIVILEGES;
Exit the MariaDB configuration.
exit

5. Installing WordPress
Download the WordPress ZIP file.

For now, download it to the “Downloads” folder.
I downloaded WordPress 6.9.4 ja.
Open the Downloads folder and right-click on wordpress-6.9.4-ja.zip to extract it.
Inside the extracted folder, there is a folder named “WordPress.” Copy this folder and paste it into the “Downloads” directory one level up.
Copy this folder to the Apache document root, /var/www/html.
sudo cp -r /home/username/download/wordpress /var/www/html/wordpress
Replace “username” with your actual username.
Since the name of the copied directory becomes the URL, you can create multiple independent WordPress sites by changing the directory name when copying. (A database is required.)
Navigate to the destination directory.
cd /var/www/html/
Use the ls command to verify that the wordpress folder is present.
Then, run the following command to change the ownership of the WordPress directory.
sudo chown -R www-data:www-data .
Restart Apache.
sudo service apache2 restart
6. WordPress Initial Setup
Enter “localhost/wordpress” in your web browser's address bar.
When this screen appears, click the “Let's get started!” button and enter the database name, username, and password you set up for MariaDB earlier.
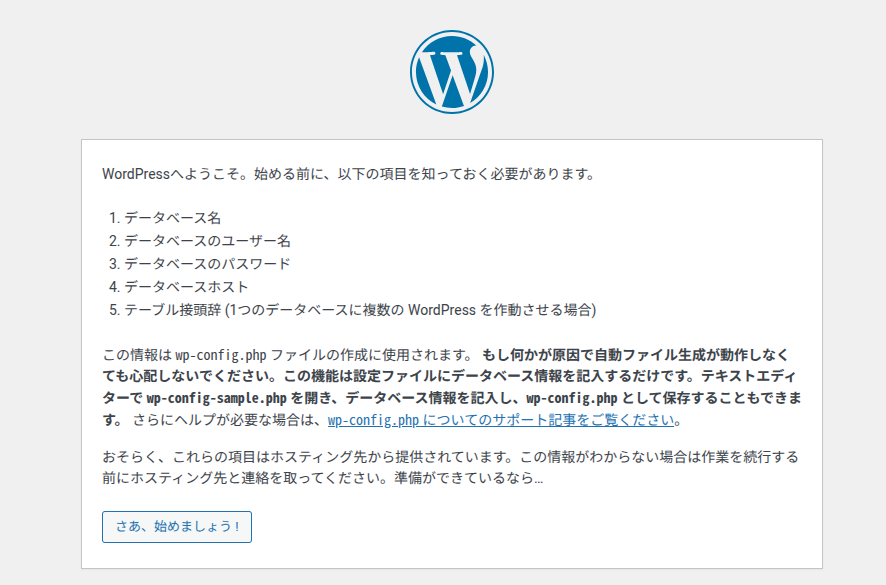
However, I was unable to proceed any further at this point.
There was no wp-config.php file in /var/www/html/wordpress.
sudo cp wp-config-sample.php wp-config.php
So, I copied the sample file, renamed it, and edited the contents of wp-config.php.
sudo gedit wp-config.php
Without wp-config.php, you won’t be able to proceed no matter how correct your database name, username, and password are, so it’s faster to create and edit wp-config.php yourself.
Try rewriting the database settings, which start around line 23 of wp-config.php.
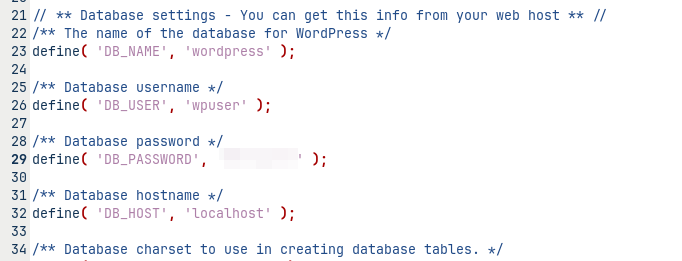
define( ‘DB_NAME’, ‘wordpress’ );
/** Database username */ define( ‘DB_USER’, ‘wpuser’ );
/** Database password */ define( ‘DB_PASSWORD’, ‘password’ );
Enter the database name, username, and password you created in MariaDB earlier, save the file, and then try entering localhost/wordpress into your web browser’s address bar.
If everything goes well, you should be able to access the WordPress settings.
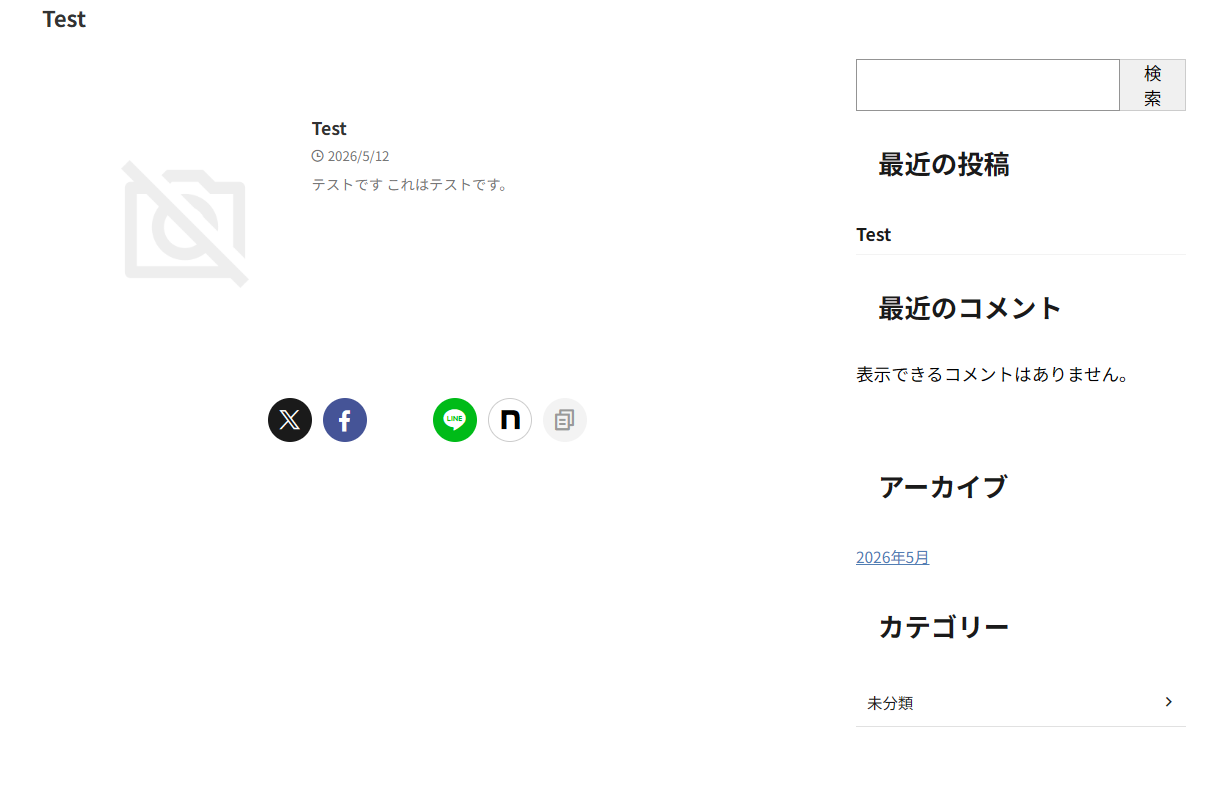
Next, in the WordPress settings under “General,” enter your private IP address (e.g., 192.168.xxx.xxx) in both the “WordPress Address (URL)” and “Site Address (URL)” fields. This will allow you to access the site from other computers on your local network.

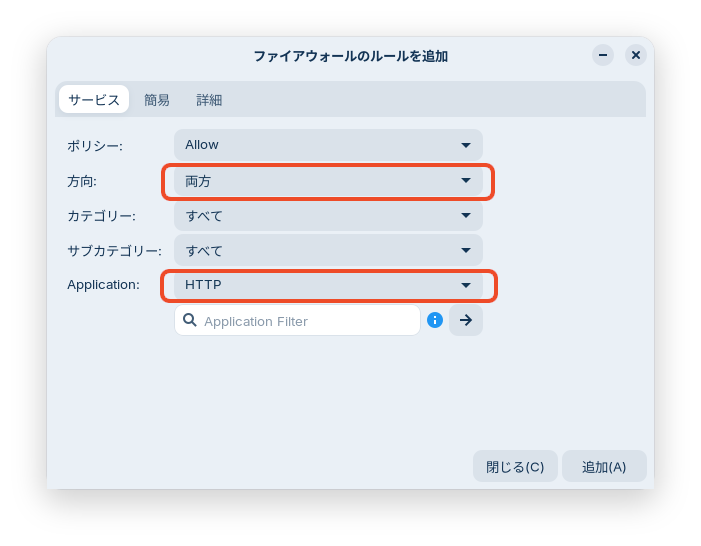
You will also need to open the HTTP port in gufw.
sudo gufw
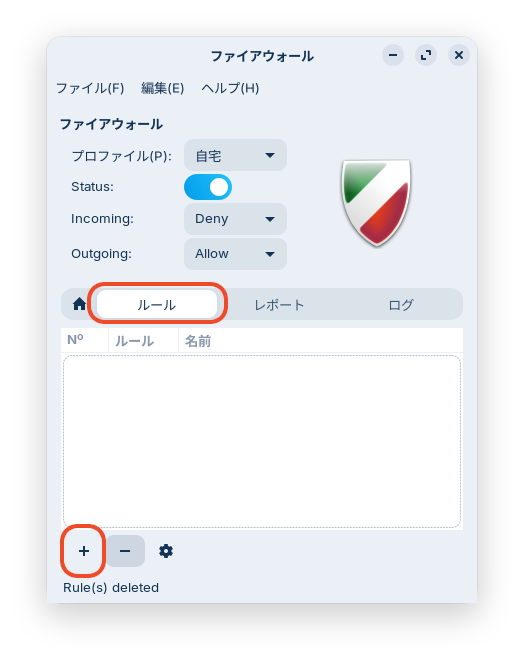
Click the “+” icon in the bottom-left corner, set the direction to “Both,” select HTTP, and click the “Add” button.
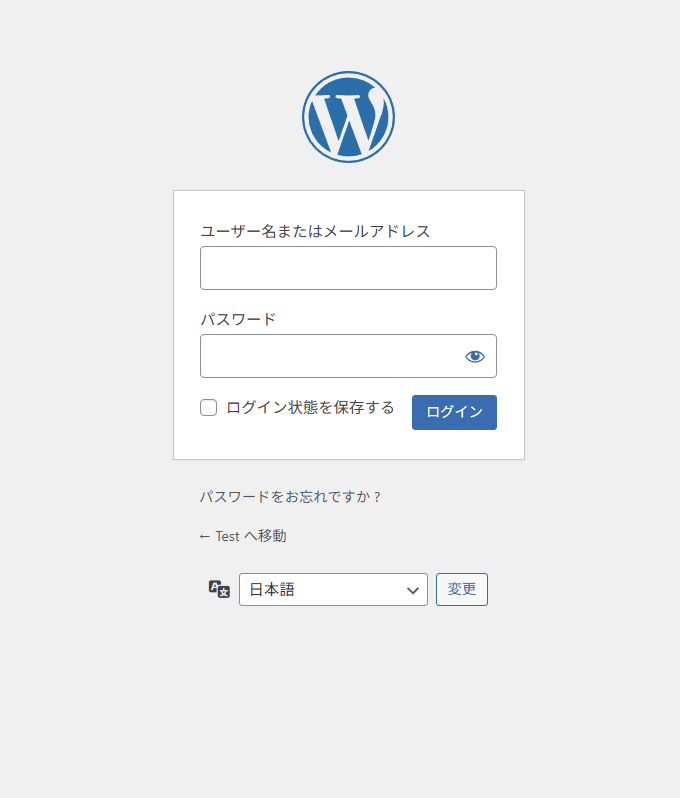
If you’ve synced the URL for the login page in Chrome or another browser, you’ll be able to log in from other computers on the local network as well.
It might be a good idea to set a static private IP address for file sharing and web browsing as well.
If you manually set the private address in the IPv4 settings under Zorin OS Settings and also configure manual assignment on your router, the private IP address will be fixed. This should ensure stability, as the private IP address won’t change for file sharing or web addresses.
If WordPress Modules Are Missing
After creating a WordPress site, you may see a message in Site Health stating that “modules are missing.”
WordPress may also behave abnormally.
In that case, run the following command:
sudo apt install php8.5-curl php8.5-xml php8.5-imagick php8.5-mbstring php8.5-zip php8.5-gd php8.5-intl
Please run this command to install the modules.
This should improve the functionality of posting, image uploads, and plugin operations.
With this, you now have a WordPress website for learning and testing in your local environment.
Summary
To run WordPress on Zorin OS 18.1 Core, first install Apache, PHP, and MariaDB.
Install Apache and enable mod_rewrite.
Log into MariaDB, create a database for WordPress, and set up a user and password.
In your web browser, enter localhost/wordpress (in this case) in the address bar.
On the initial WordPress setup screen, enter the database name, username, and password.
If you keep getting errors such as “Does the database user have permissions?” no matter how many times you try, check to see if there is a `wp-config.php` file in the `/var/www/html/wordpress` directory.
If it is not there, copy it from the sample, enter the database name, username, and password in `wp-config.php`, and save it.
To view or log in to your WordPress site from a computer other than the one running Zorin OS 18.1 Core, change the site URL in your WordPress settings to something like 192.168.xxx.xxx/wordpress, and open HTTP in gufw.
よろしければ応援お願いします


