
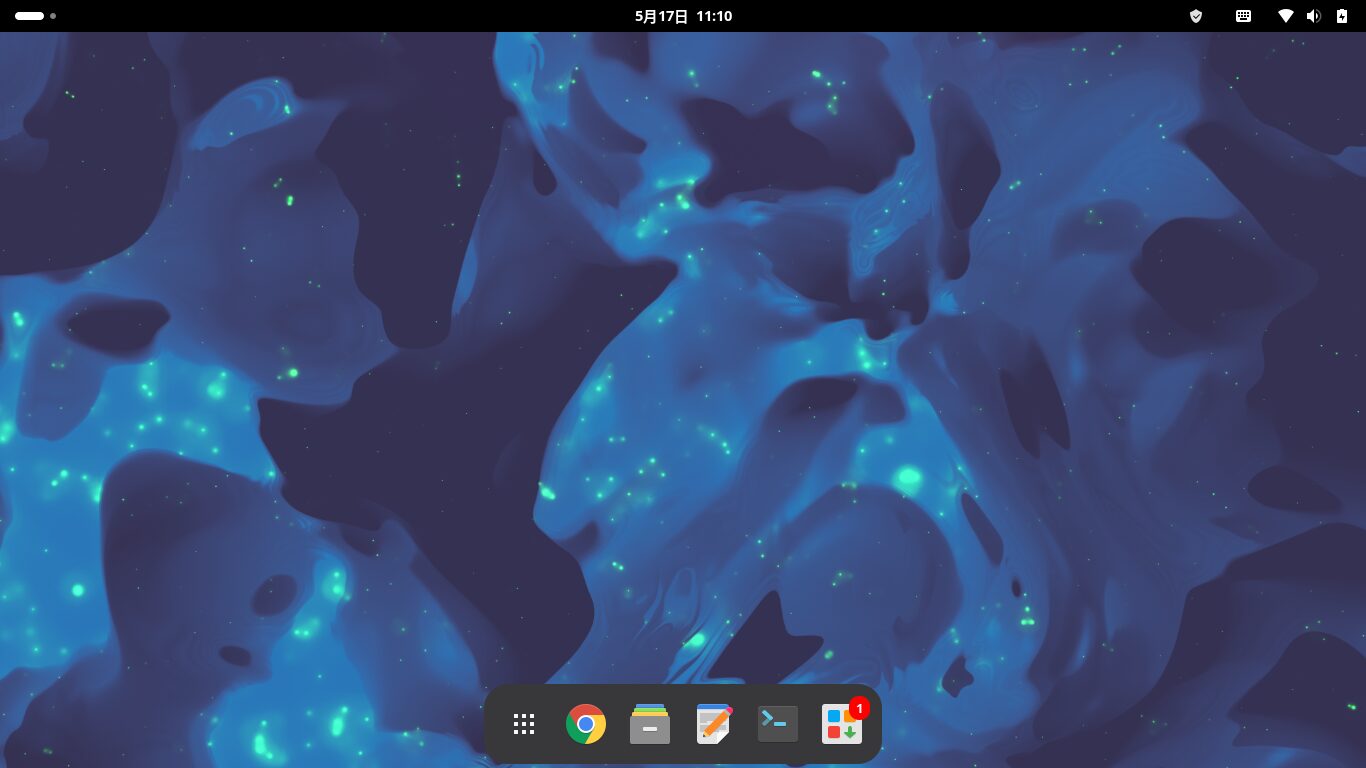
Manjaro is an Arch Linux-based distribution.
It is relatively easy to install compared to other Arch Linux distributions.
- Easy Installation & Setup: You can easily install it using a GUI (graphical interface), and it comes with a fully supported Japanese environment.
- Always Up-to-Date Software (Rolling Release): Once installed, you don’t have to wait for “major updates” like with Windows; the system and software are constantly updated to the latest versions.
- Desktop Environment Options: You can choose your preferred look and usability from options such as the lightweight "Xfce," the modern "KDE Plasma," and the stylish "GNOME."
That’s the gist of it.
Arch Linux is an OS designed to let you build a user-friendly environment from the ground up.
However, Manjaro offers a relatively comprehensive GUI interface that is easy for beginners to use.
Installation can also be done via the GUI.
A key strength of Arch Linux-based OSes is that you don’t need to reinstall the OS every time a new version is released.
Once installed, the kernel and other applications are kept up to date.
However, installing applications via standard DEB or RPM files can be difficult, so the main methods for adding and removing apps involve installing from official repositories or the AUR (Arch User Repository), which is maintained by volunteers worldwide.
In a sense, you could say it follows the traditional path of Linux.
The specifications of the machine I installed it on are as follows.
A Tsukumo notebook PC
Hardware Model: CLEVO CO. W240EU/W250EUQ/W270EUQ Processor: Intel®
Core™ i7-3610QM CPU @ 2.30GHz × 8
Memory: 16.0 GiB Disk
Capacity (SSD): 512.1 GB
It originally had a Core i3 processor, but I replaced it with a used Core i7.
I also upgraded the memory.
Click here for the Manjaro Overview page


1. Downloading the ISO Image
Download ISO Image from here.

I chose GNOME.
2. Creating a Live USB Drive
balenaEtcher

Alternatively, use Rufus or a similar tool to write the Manjaro ISO image to a USB drive.
Select the downloaded ISO image under "Flash from file, specify your USB drive, and click "Flash!".
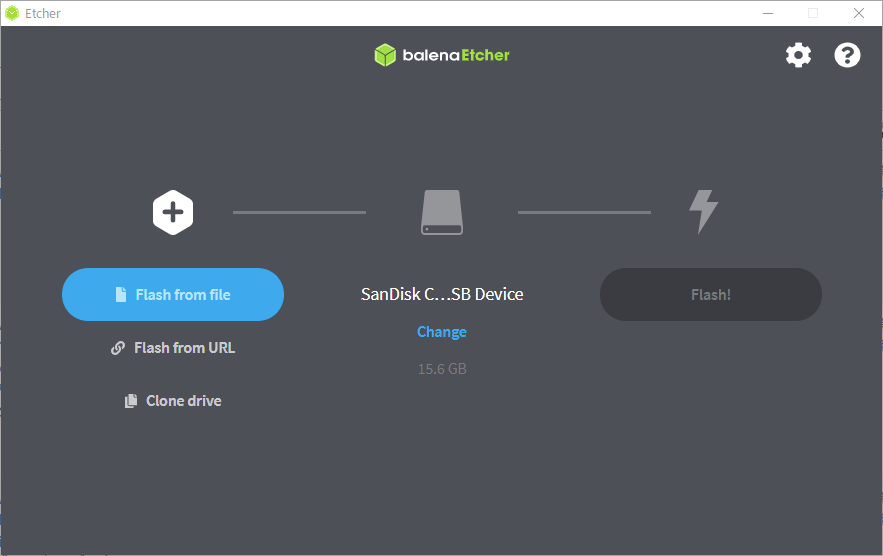
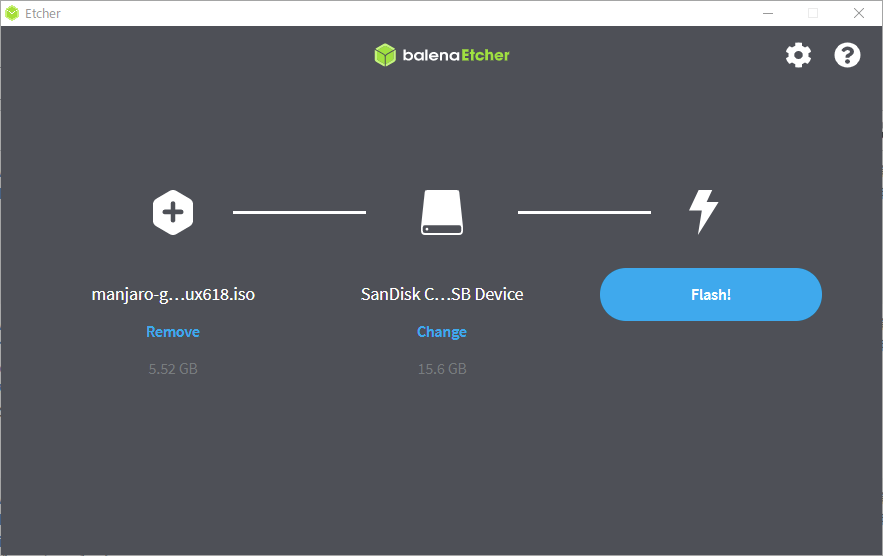
Once the writing is complete, remove the USB drive.


3. Installation
Turn off the PC you want to install on, then insert the USB drive.
Turn on the computer and immediately press the F2 or Delete key to configure the BIOS or UEFI to boot from the USB drive.
Once Manjaro boots, select your language in the bottom-left corner of the window that opens.
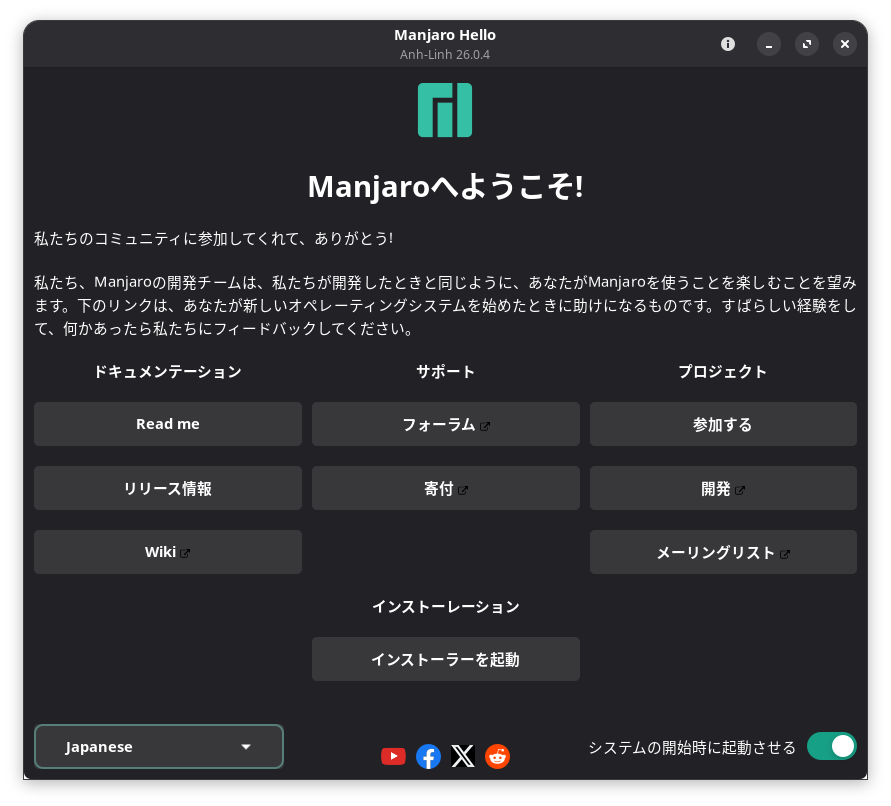
If you are using Wi-Fi, enter the password to connect.
Click "Launch Installer" in the center-bottom of the screen.
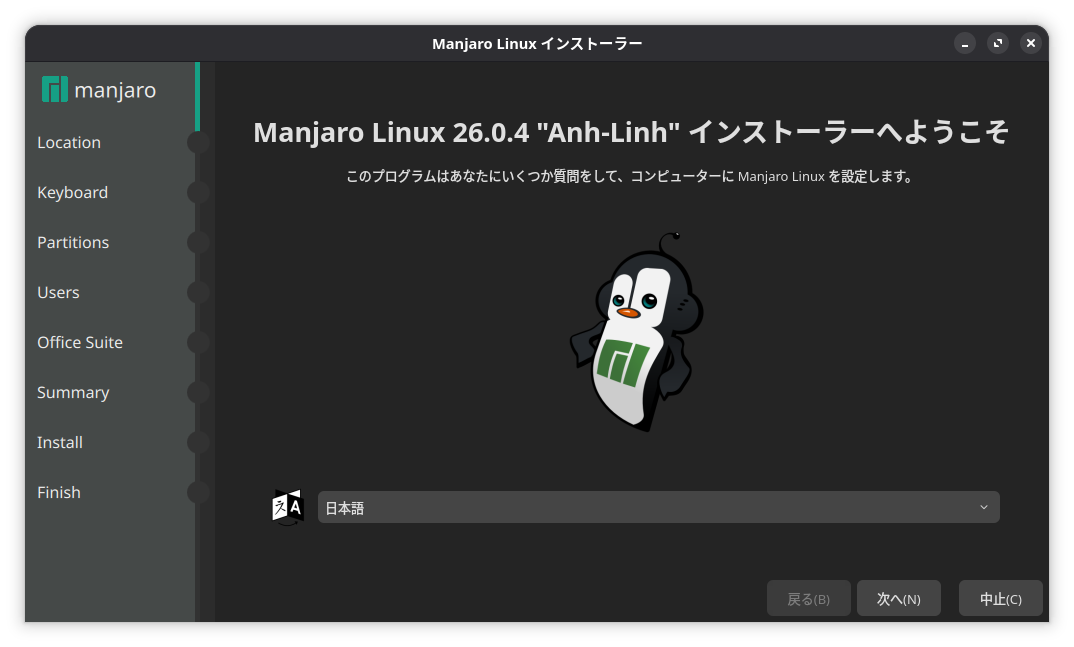
Select your language and click the "Next" button.
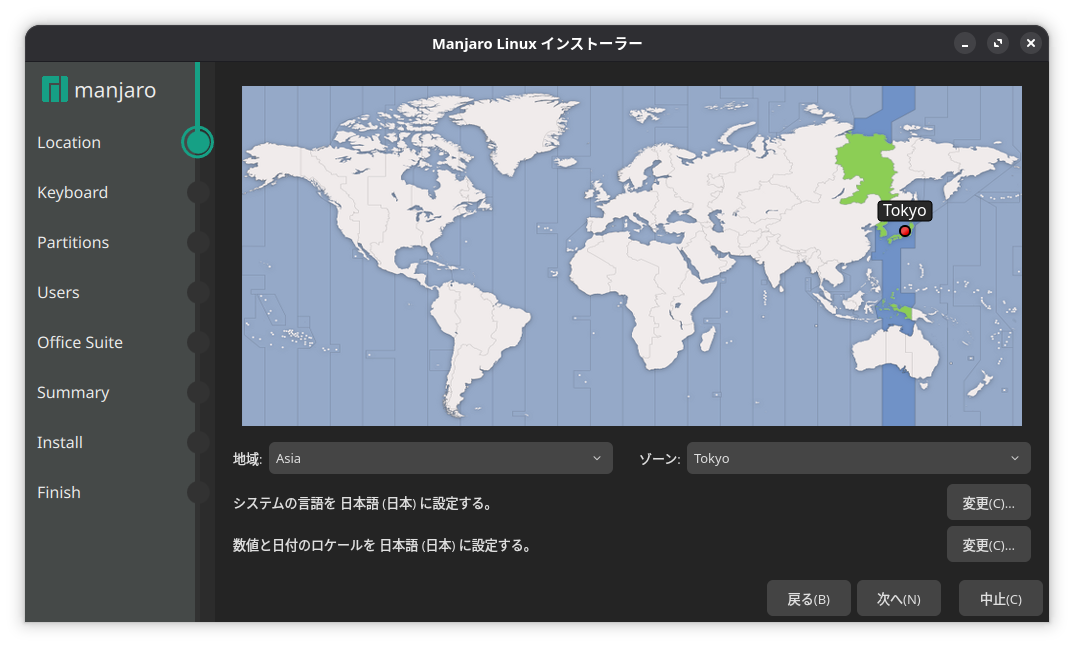
Select your region and city for the time zone, then click "Next."
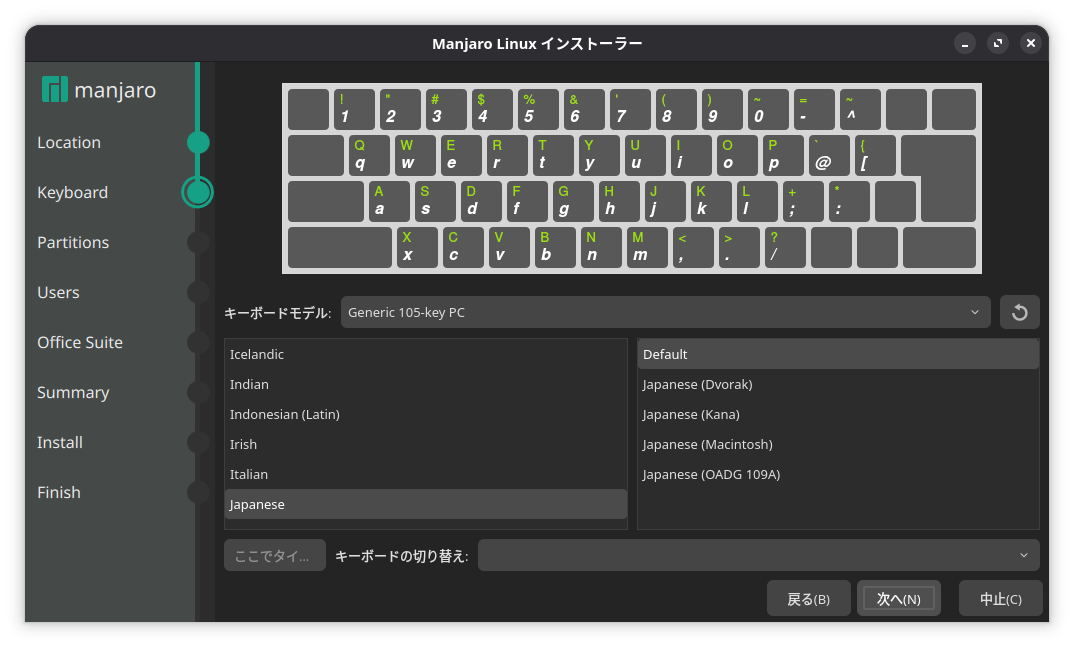
Leave the keyboard settings as is and click "Next."
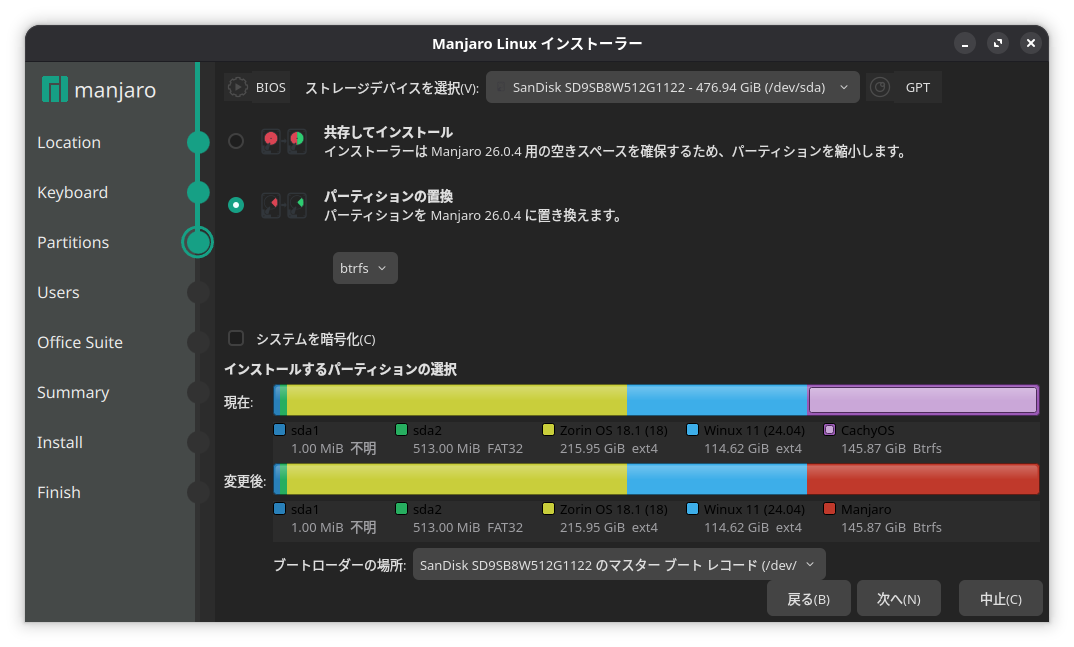
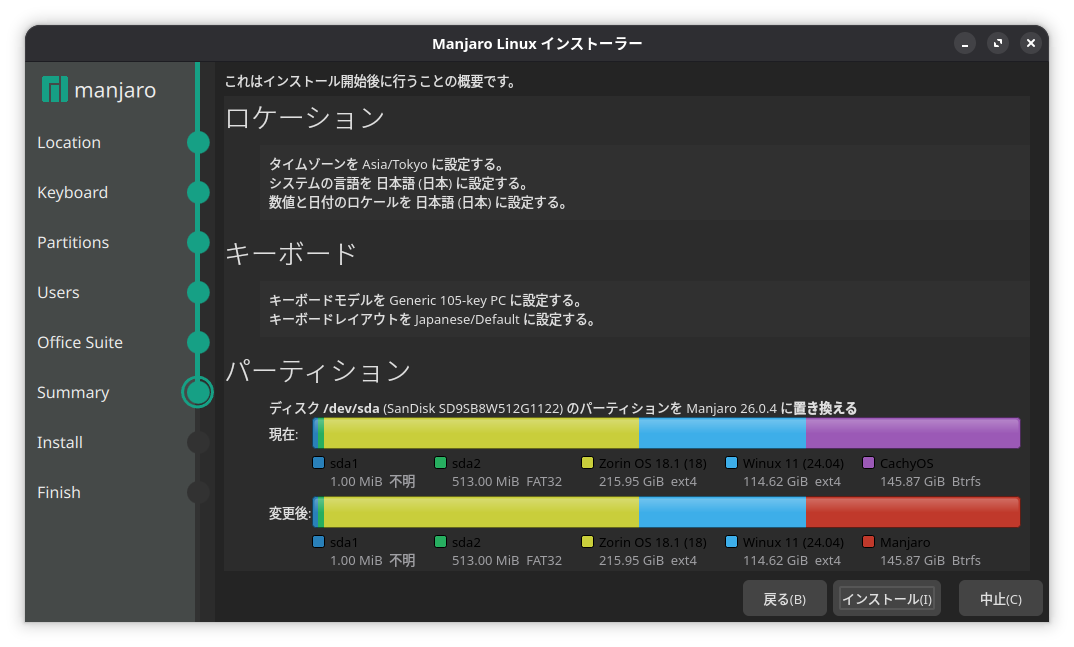
Since I want to set up a triple boot with Zorin OS and Winux, I selected "Replace Partition."
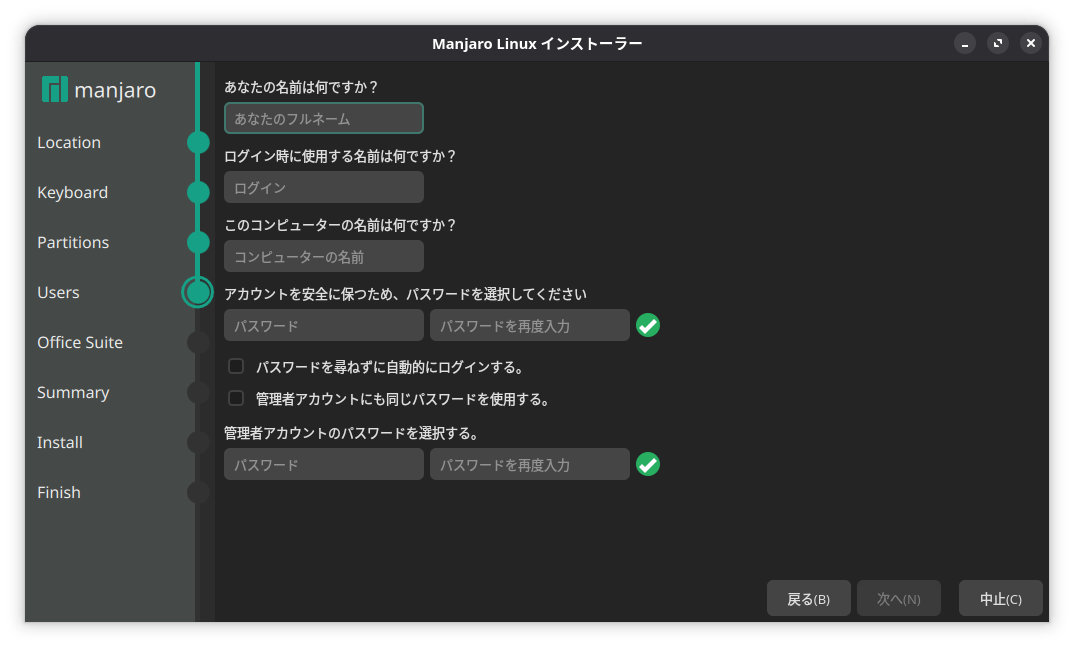
Enter your name, the username you’ll use to log in, the computer name, and a password, then click “Next.”
Your username and password will be used in Terminal.
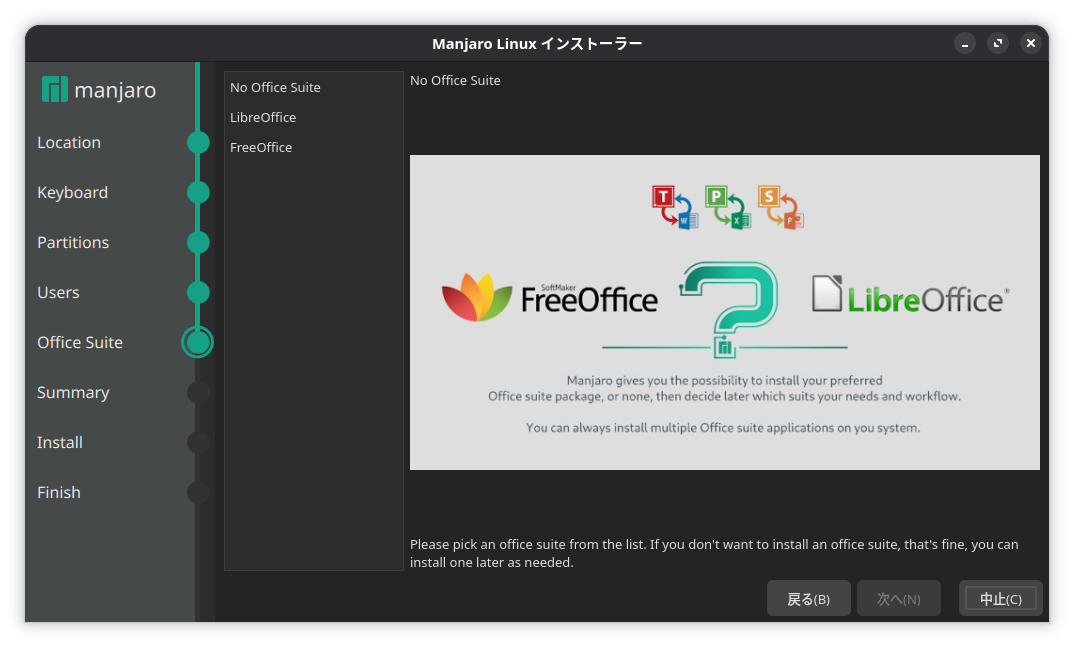
You can choose an office suite here. Install it if needed.
I chose LibreOffice.
Review the settings and click the "Install" button.
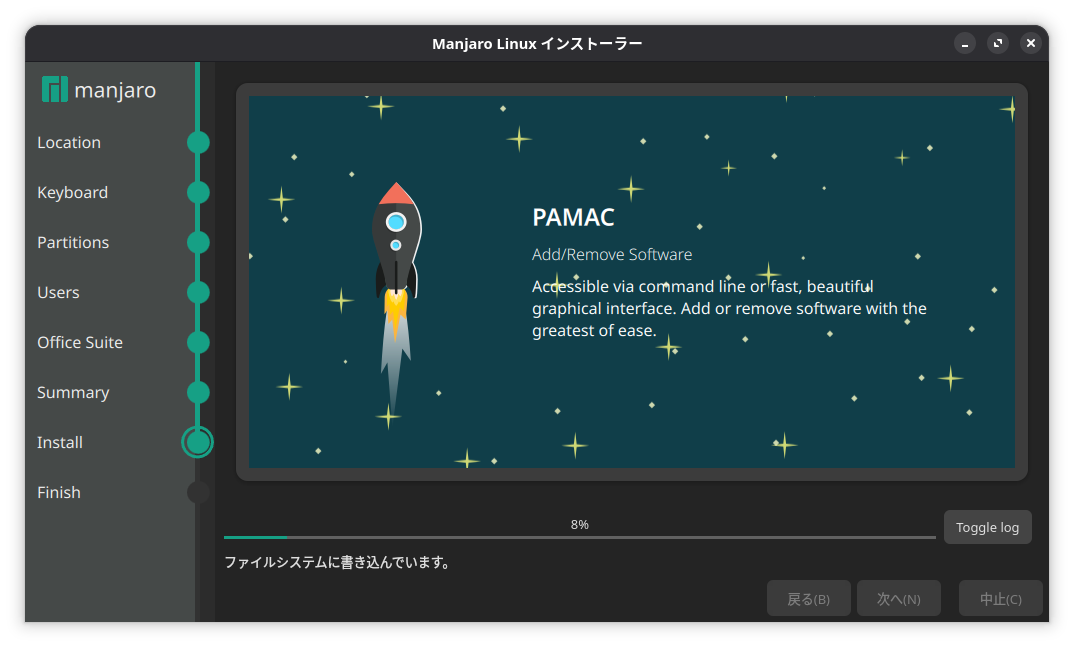
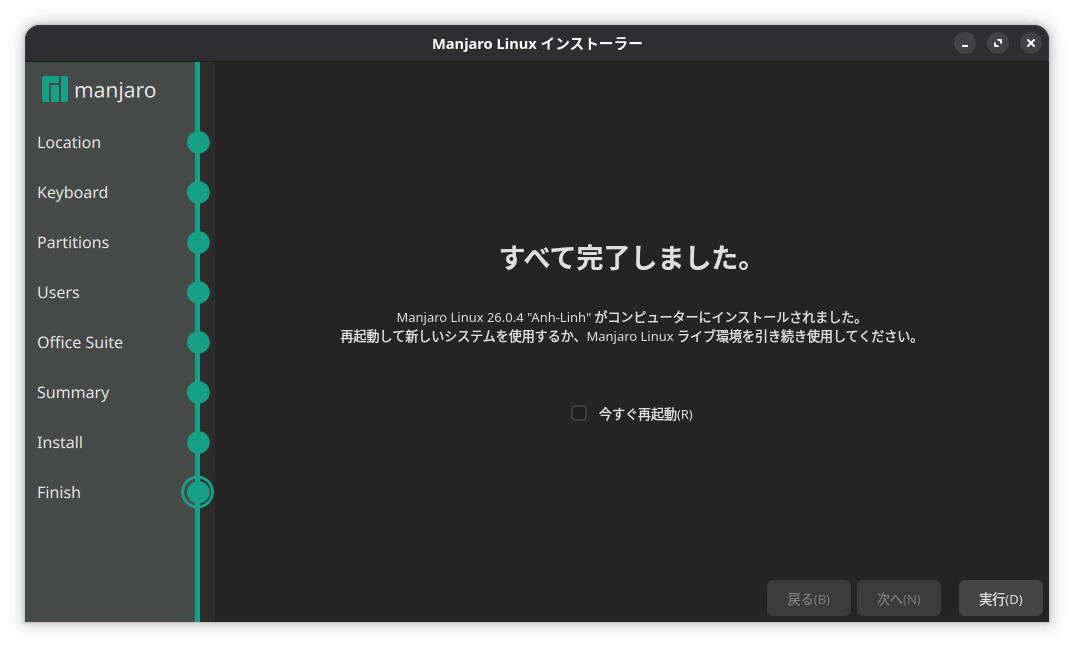
When "Everything is complete" appears, check "Reboot now" and click the "Execute" button.


4. After Installation
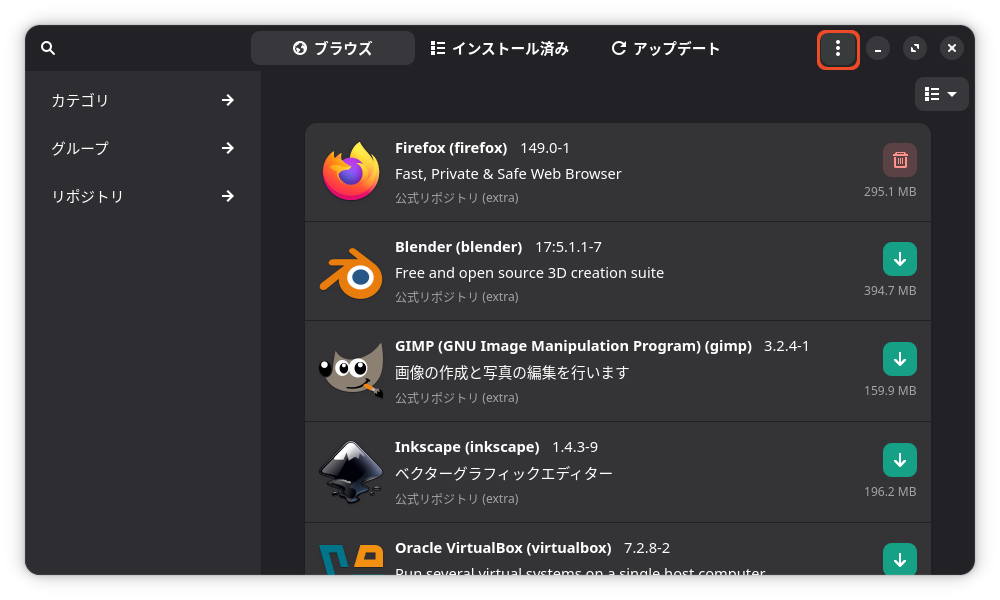
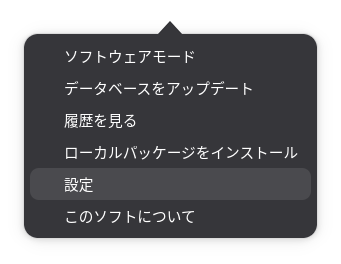
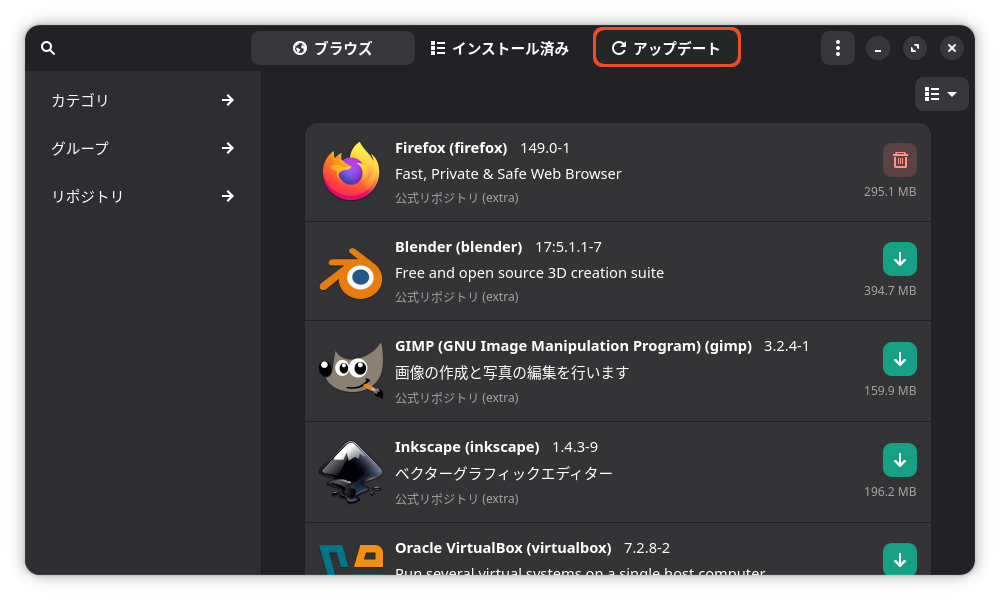
Click "Add/Remove Software" on the right side of the dock at the bottom to launch it, then click the hamburger menu in the top right and select "Settings."

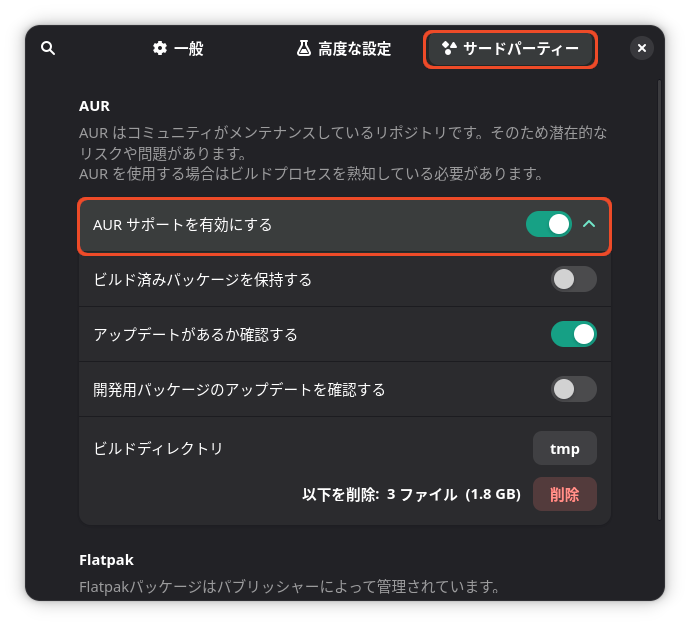
On the "Third-party" tab, enable "Enable AUR support."
AUR stands for Arch User Repository, a massive software database created and maintained by volunteer users worldwide for Arch Linux and Manjaro.
If necessary, also enable "Enable Flatpak support."
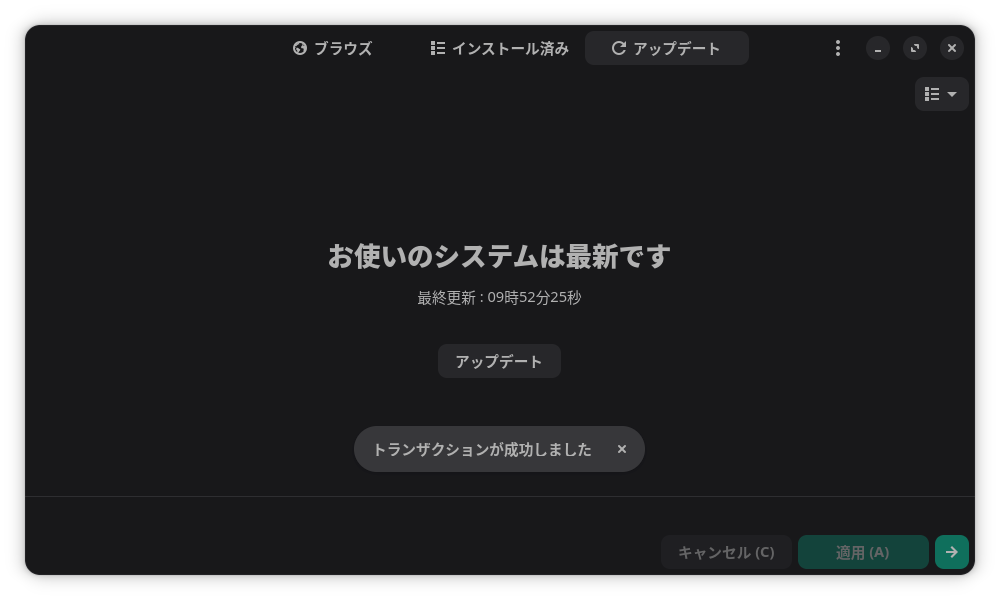
Close the settings window, click the "Updates" tab at the top, and then click "Apply" in the bottom-right corner.
This will update your system to the latest version.
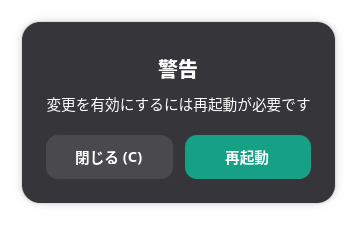
Once the updates are complete, follow the instructions to reboot.
Japanese Input
To enable Japanese input, open "Add/Remove Software" from the dock, search for "manjaro-asian-input-support-fcitx," and install it.

I installed fcitx5.
Check the box for "fcitx5-mozc: Japanese".
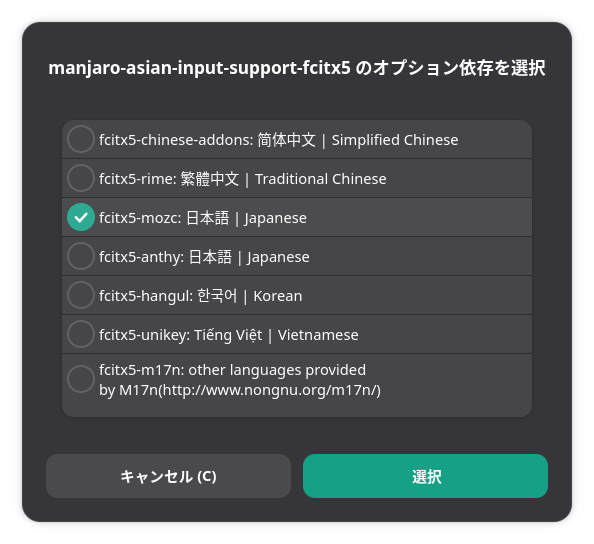
The dependencies will be installed as well. This may
take quite a while.
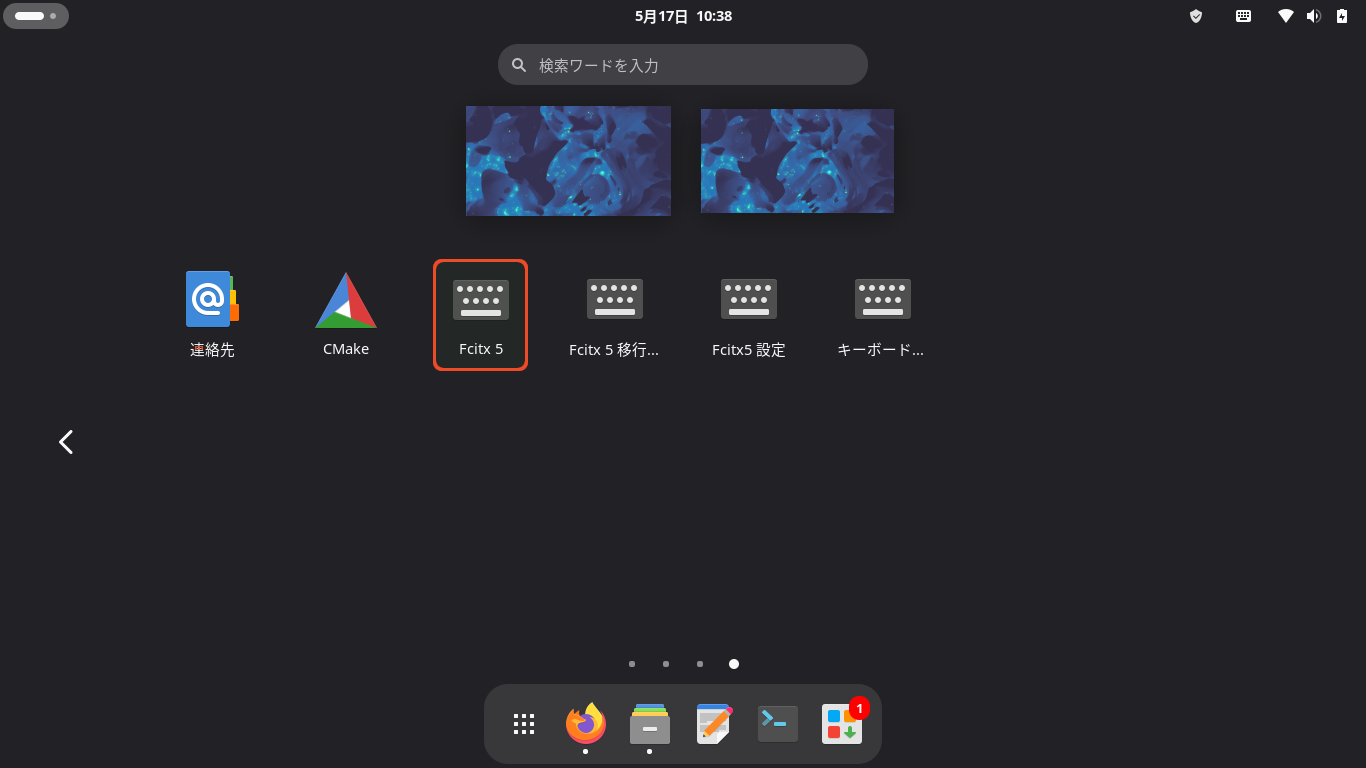
From the Dock, click "Show Apps" on the far left and select "Fcitx 5."

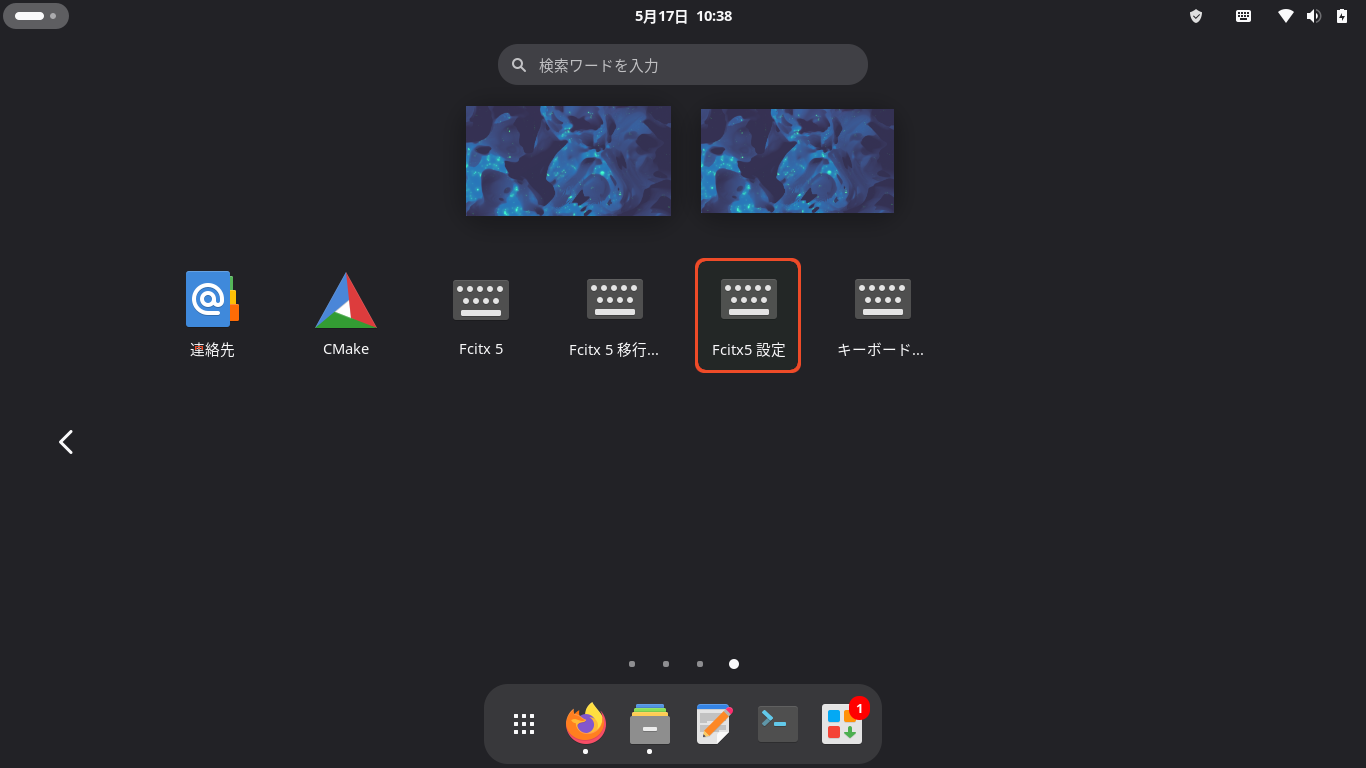
Then click "Fcitx Settings," configure it as shown in the image, and click "Apply" to close the window.
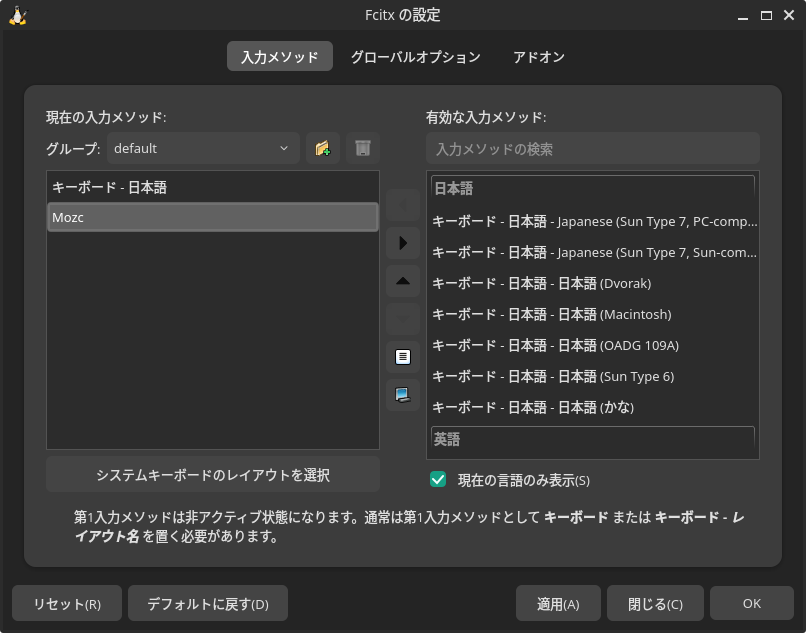
Click the keyboard icon in the upper-right corner to confirm that Mozc is enabled.
If it is enabled, you will be able to switch between Japanese and other input modes using the Full-width/Half-width key.
Enabling the Firewall
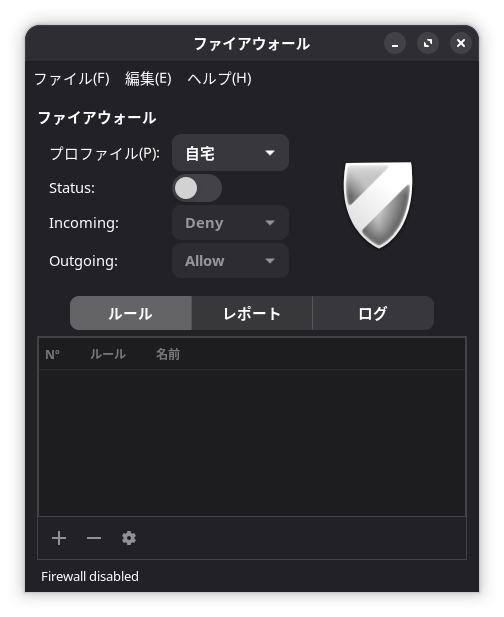
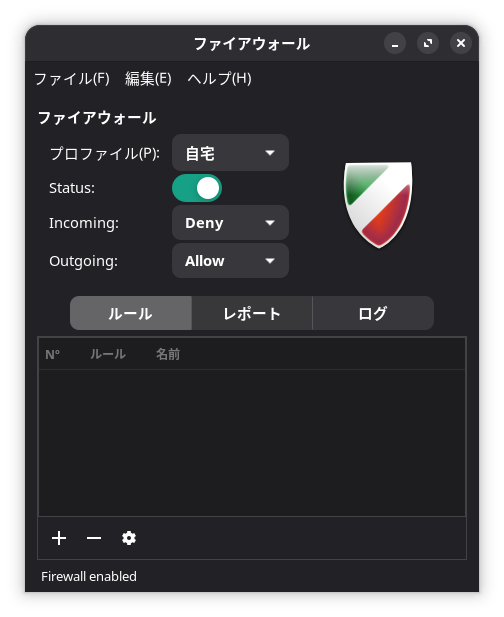
Click "Firewall" from "Show Apps" at the far left of the dock at the bottom.
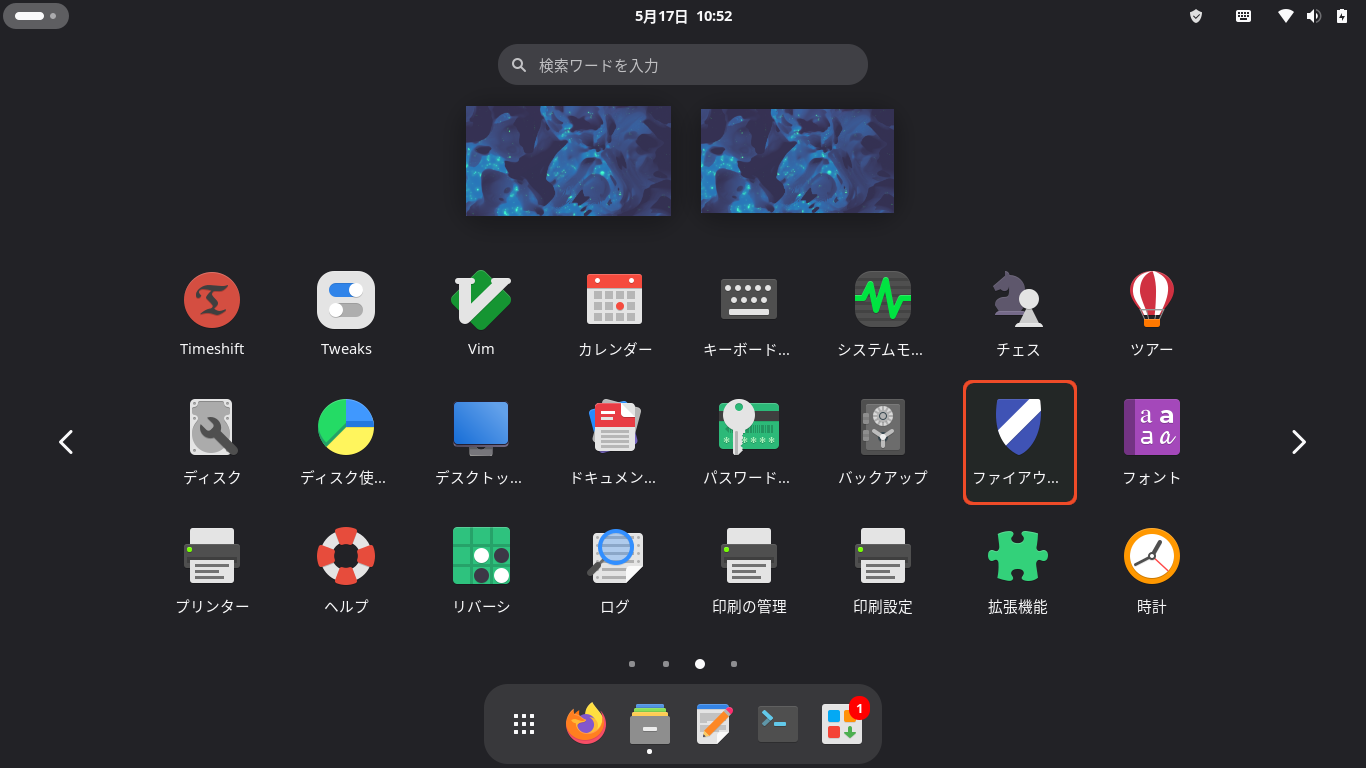
When the screen appears, set the Status to On.
Important Notes
After installation, please enable AUR, run updates, and keep your system and apps up to date.
Also, be sure to enable the firewall.
This completes the Manjaro installation for now.
Summary
To install Manjaro, download the ISO image from the Manjaro website and create a live USB drive.
Turn off the PC you want to install it on, insert the USB drive, and then turn on the power.
Use the F2 or Delete key to configure the system to boot from the USB drive.
Once the system boots from the USB drive, if you’re using Wi-Fi, enter the password to connect to the network.
When everything is ready, click “Launch Installer” in the bottom center.
After installation, click "Add/Remove Software" on the right side of the dock at the bottom to launch it, then run updates to bring the system up to date.
Install your language input from "Add/Remove Software," and launch the firewall from "Show Apps" at the far left of the dock to turn it on.
If you like this, please show your support.


