
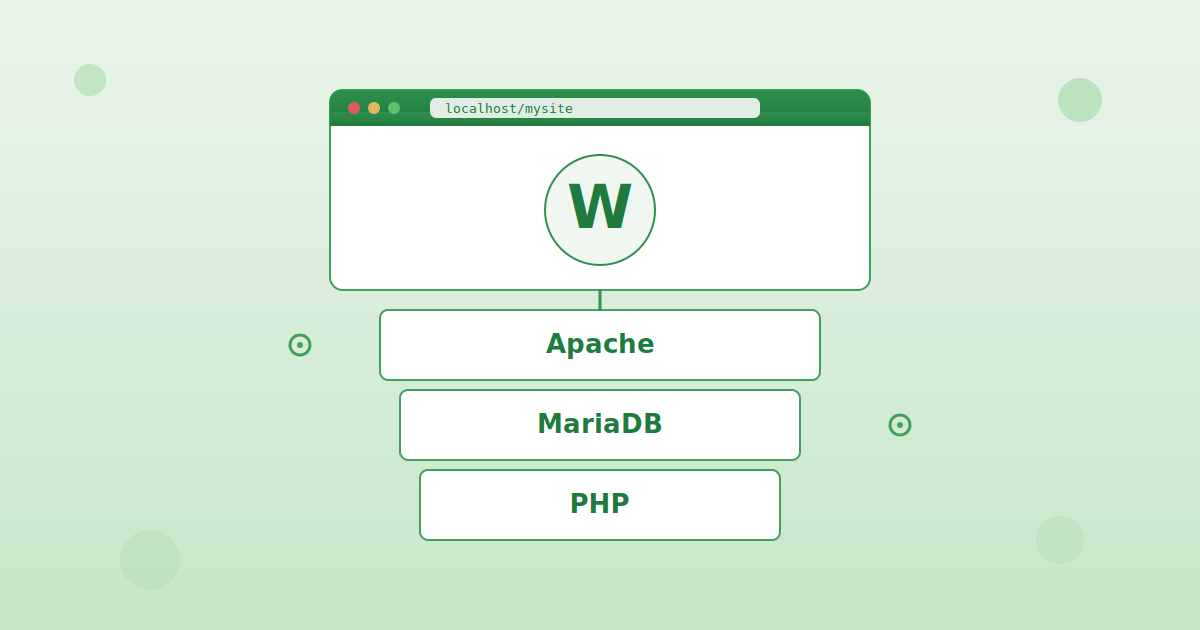
I previously wrote a post on how to install XAMPP on Manjaro to set up a local WordPress environment.


However, XAMPP hasn’t been updated recently, and WordPress Site Health now lists several areas for improvement, such as an “outdated database.” Since XAMPP bundles Apache, MariaDB, and PHP into a single package, updating just the database would likely be a tedious task.
So in this post, I’d like to explain how to set up a local WordPress environment by installing Apache, MariaDB, and PHP manually.
Here is the summary page for Manjaro.

Installing Apache
First, update the system.
sudo pacman -Syu
Next, install Apache.
sudo pacman -S apache
Start Apache.
sudo systemctl start httpd
Configure Apache to start automatically.
sudo systemctl enable httpd
To prevent errors that might prevent you from publishing posts on WordPress, enable the relevant line in httpd.conf by removing the comment mark.
sudo gedit /etc/httpd/conf/httpd.conf
Find the line below and remove the comment mark
#LoadModule rewrite_module modules/mod_rewrite.so
LoadModule rewrite_module modules/mod_rewrite.so
Find and modify the following section.
<Directory "/srv/http">
...
AllowOverride None
...
</Directory>
Change `AllowOverride None` to `AllowOverride All`.
<Directory "/srv/http">
...
AllowOverride All
...
</Directory>
Rewrite the following section to display .php files.
DirectoryIndex index.html
</Directory>
to
DirectoryIndex index.php index.html
...
</Directory>
Add `index.php` as shown above.
Save httpd.conf, then run the following command to verify.
sudo apachectl configtest
If the output says "Syntax OK," the configuration is correct.
Restart Apache.
sudo systemctl restart httpd
Install MariaDB and create a database for WordPress
Installing MariaDB
Install MariaDB.
sudo pacman -S mariadb
Run the following command during the initial installation to initialize MariaDB.
sudo mariadb-install-db --user=mysql --basedir=/usr --datadir=/var/lib/mysql
Start MariaDB.
sudo systemctl start mariadb
Enable MariaDB to start automatically.
sudo systemctl enable mariadb
For security purposes, set a root password and remove anonymous users.
sudo mariadb-secure-installation
Please follow the on-screen instructions to complete the configuration.
If you can log in using the following command, the installation was successful.
sudo mariadb -u root -p
Creating a Database for WordPress
Log in to MariaDB using the following command.
sudo mariadb -u root -p
Once logged in, execute the following at the SQL prompt.
First, create a database.
CREATE DATABASE データベース名 CHARACTER SET utf8mb4 COLLATE utf8mb4_unicode_ci;
Replace “database_name” with your own name to create the database.
Next, set up a database user and password.
CREATE USER 'ユーザー名'@'localhost' IDENTIFIED BY 'パスワード';
Replace “username” and “password” with your own values before executing.
Next, run the following command.
GRANT ALL PRIVILEGES ON データベース名.* TO 'ユーザー名'@'localhost';
Replace “Database Name” with the name of the database you created, and replace “Username” with the username you created.
Save the database.
FLUSH PRIVILEGES;
Log out of MariaDB.
EXIT;
Installing PHP
Installing PHP and Enabling Extensions
Install PHP.
sudo pacman -S php php-apache php-gd php-intl
Next, enable the extensions required for WordPress. Edit the PHP configuration file.
sudo gedit /etc/php/php.ini
In this configuration file,
;extension=intl
;extension=gd
Search for this line, remove the ";", and uncomment it.
Next, install Imagick.
sudo pacman -S php-imagick
After that,
sudo gedit /etc/php/conf.d/imagick.ini
open the configuration file and, if the line is commented out with a ";", remove the semicolon to enable it.
Configure Apache to load the PHP module
Use the following command to open the Apache configuration file
sudo gedit /etc/httpd/conf/httpd.conf
In this file,
LoadModule mpm_event_module modules/mod_mpm_event.so
#LoadModule mpm_prefork_module modules/mod_mpm_prefork.so
and replace it with
#LoadModule mpm_event_module modules/mod_mpm_event.so
LoadModule mpm_prefork_module modules/mod_mpm_prefork.so
Please change it to this.
Also
LoadModule dir_module modules/mod_dir.so
Below this
LoadModule php_module modules/libphp.so AddHandler php-script .php
Please add the following.
Save httpd.conf, then run the following command to verify.
sudo apachectl configtest
If the output shows “Syntax OK,” the configuration is correct.
Once verified, restart Apache.
sudo systemctl restart httpd
Installing WordPress
Please download WordPress from the URL below.

For now, let’s download it to the download directory.
Right-click the downloaded ZIP file to extract it.
The WordPress folder is inside the extracted folder. Right-click inside that folder, select “Open Console Here,” and launch the terminal.
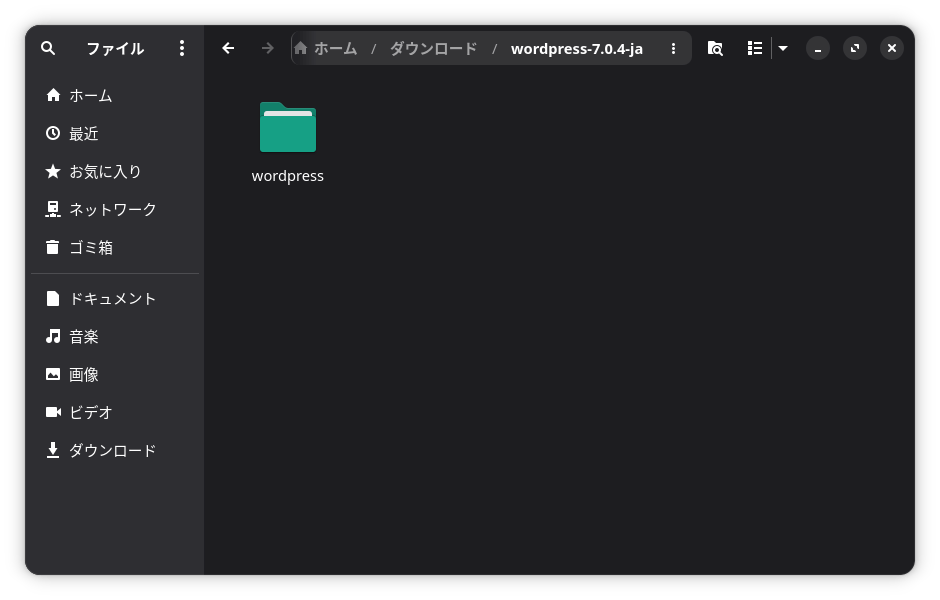
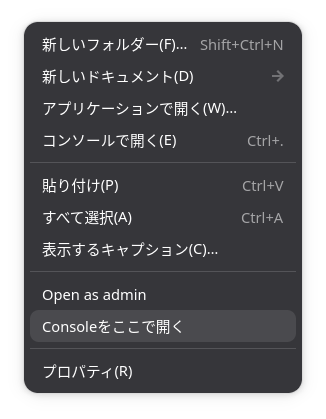
Copy the WordPress folder to the Apache document root directory.
sudo cp -r wordpress/* /srv/http/
Since the name of the folder you copy will become part of the URL, if you want to use a name that matches your site,
sudo cp -r wordpress /srv/http/'名前'
rename it as shown before copying. However, please make sure there isn’t already a directory with the same name in `/srv/http/`.
You can create multiple WordPress sites by copying another WordPress folder into `/srv/http/` with a different name.
Navigate to the WordPress folder.
cd /srv/http/'名前'
Rename wp-config-sample.php to wp-config.php and copy it.
sudo cp wp-config-sample.php wp-config.php
Then, enter the database name, username, and password you created for MariaDB into the file.
define( 'DB_NAME', 'database_name' );
define( 'DB_USER', 'username' );
define( 'DB_PASSWORD', 'Password' );
Change the ownership.
sudo chown -R http:http /srv/http/'名前'
Restart Apache just to be safe.
sudo systemctl restart httpd
When finished, open
localhost/'name'
in your browser.
If the screen for creating your WordPress site name, username, and password appears, you’ve succeeded.
Once you’ve logged into WordPress, go to “Settings” → “General” in the WordPress menu, set the “WordPress Address” and “Site Address (URL)” to something like “192.168.xxx.xxx/'name',”(replace the "xxx" part with the numbers for your local network), and enable HTTP in your firewall.
Launch the “Firewall Settings Tool” from “Apps,” click “Rules,” and then click the “ ” button in the lower-left corner.
On the “Add Firewall Rule” screen, select “Both” for Direction and “http” for Application, then click the “Add” button.
If you bookmark the login page in Chrome or a similar browser, it will be synced, allowing you to log in to or view WordPress from other computers on your local network.
You have now successfully set up a local WordPress environment on Manjaro without using XAMPP.
Good job.

 ポチップ
ポチップ

Summary
Since Site Health started displaying warnings due to the lack of updates for XAMPP, I wrote this guide on how to set up a local WordPress environment on Manjaro by installing Apache, MariaDB, and PHP individually.
First, install Apache and configure it so that no errors occur when publishing WordPress posts.
Next, install MariaDB and create a database, user, and password.
Then, install PHP, enable the extensions, and configure Apache to load PHP.
Download WordPress from the web, extract it, and copy it to the Apache document root directory.
Rename `wp-config-sample.php` to `wp-config.php`, open it in a text editor, and enter the database name, username, and password.
Once you can log in to WordPress, go to Settings > General and replace the WordPress URL with your local network address. This will allow you to log in and view the site from other computers on your local network.
よろしければ応援お願いします


