
Since the interface is similar to Windows, I think it’s a good idea to switch from Windows to Zorin OS or install it on an older Windows machine.
In this post, I’ll explain how to install the EPSON printer driver, utilities, and scanner software after performing a clean install of Zorin OS 18.1.
Please note that these instructions are based on the default layout.
Click here for an Overview of Zorin OS 18.1 Core


1. Downloading and installing the printer driver
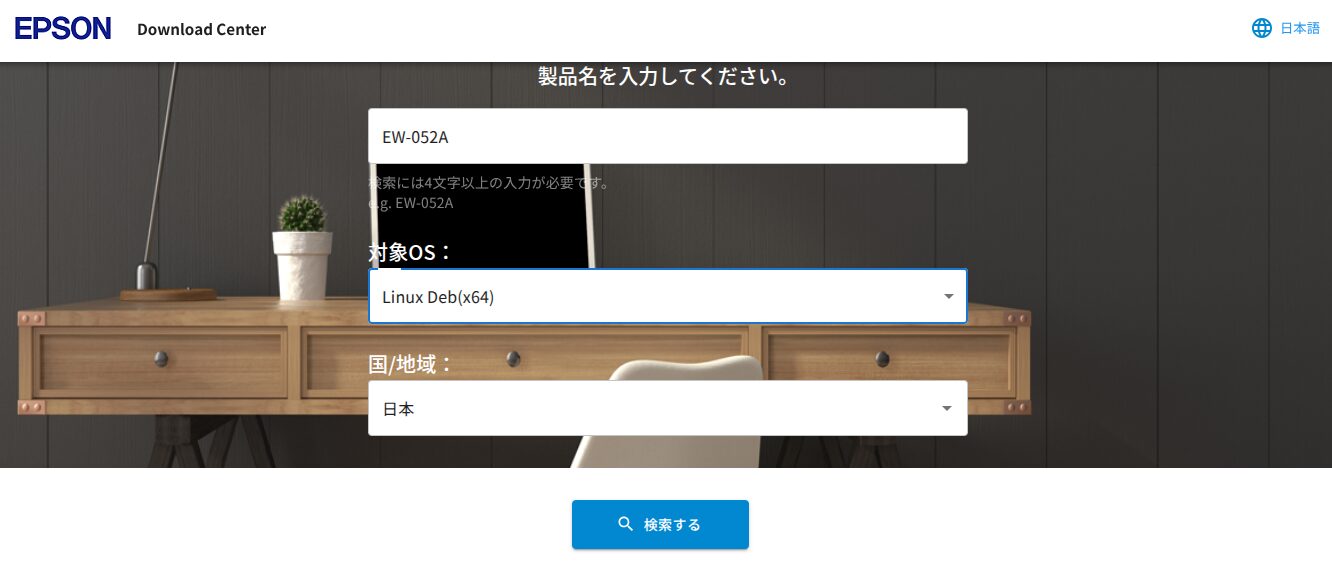
Search for your printer model number here.
EPSON
https://download-center.epson.com/search/Canon

I’ll proceed using EPSON as an example.
Select your model number and OS type.
Please make sure to turn on your printer.
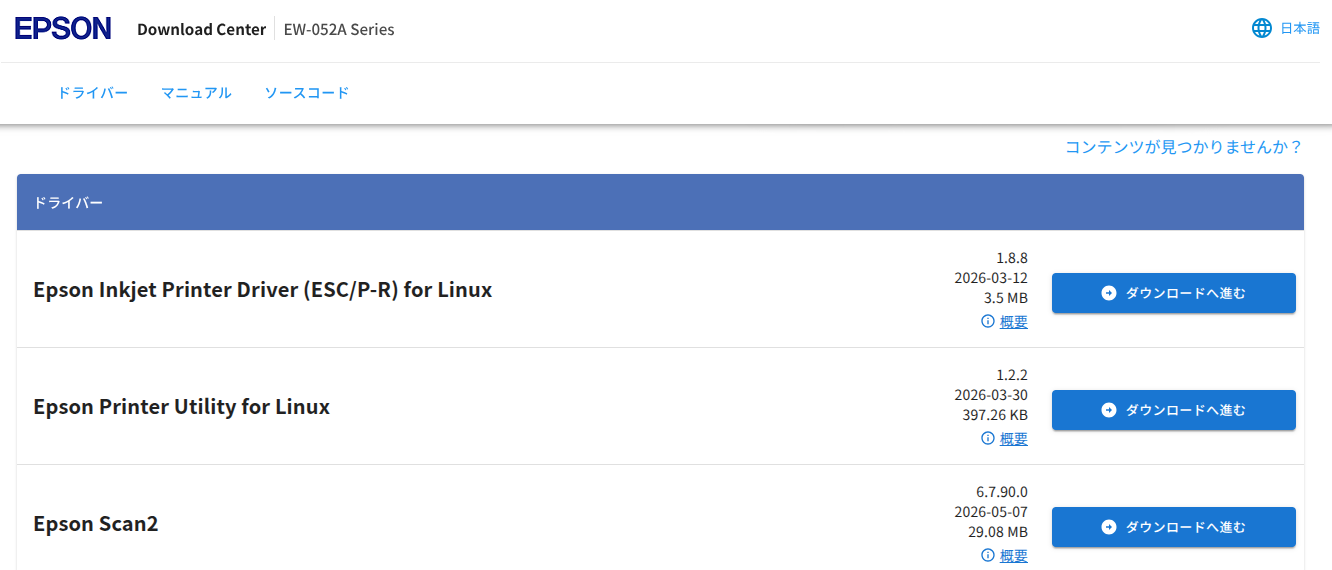
Download the drivers and utilities.
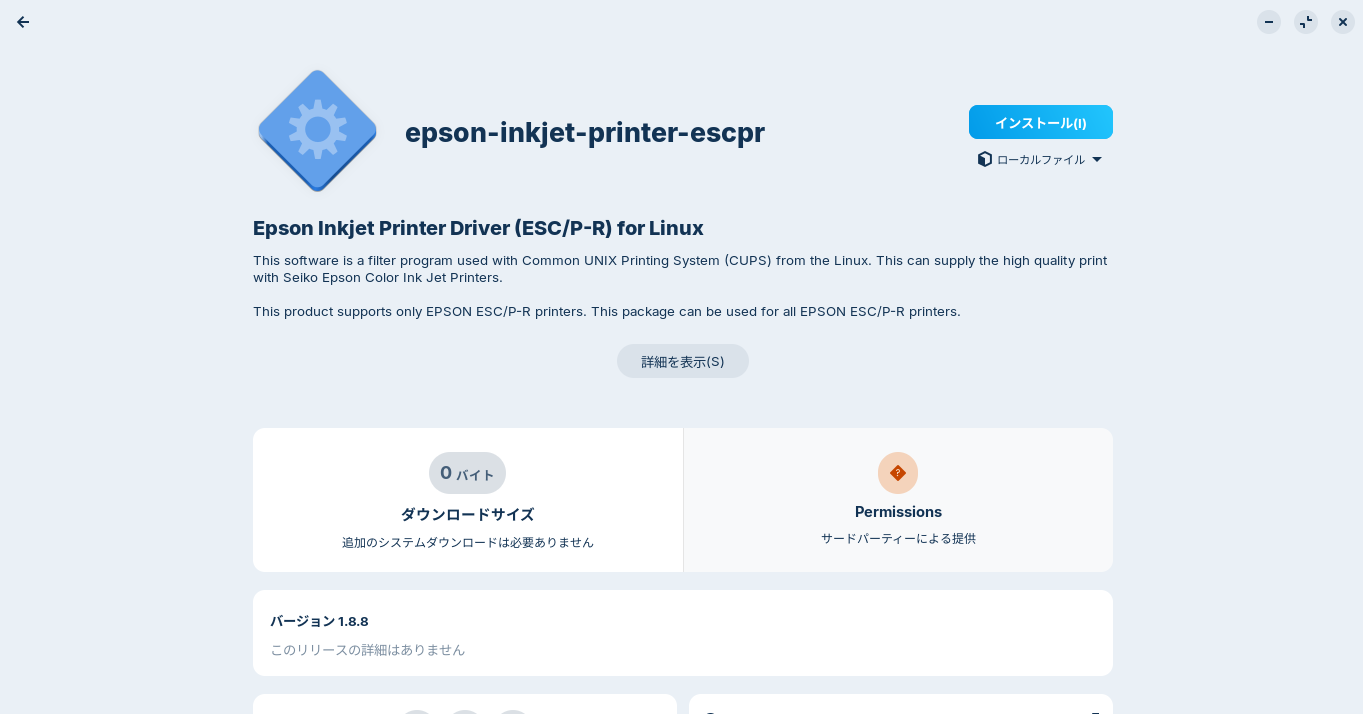
Double-click the downloaded .deb file to install it.
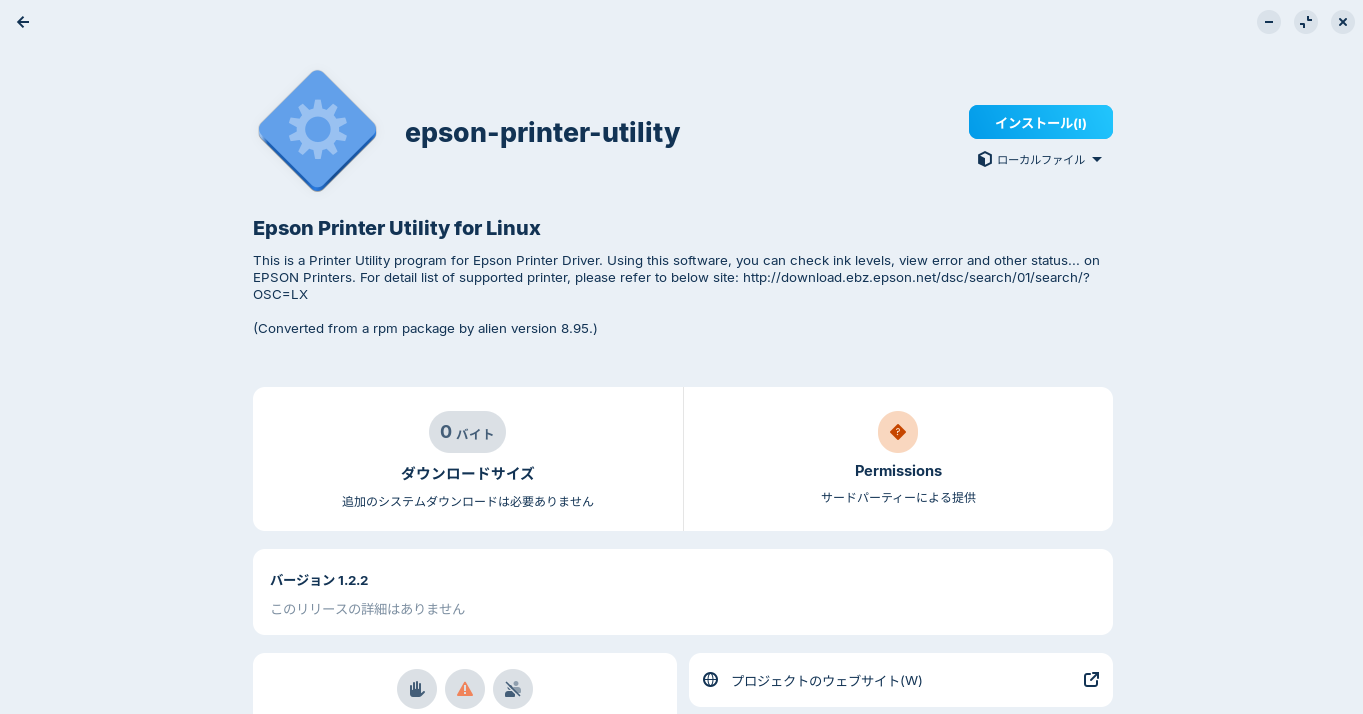
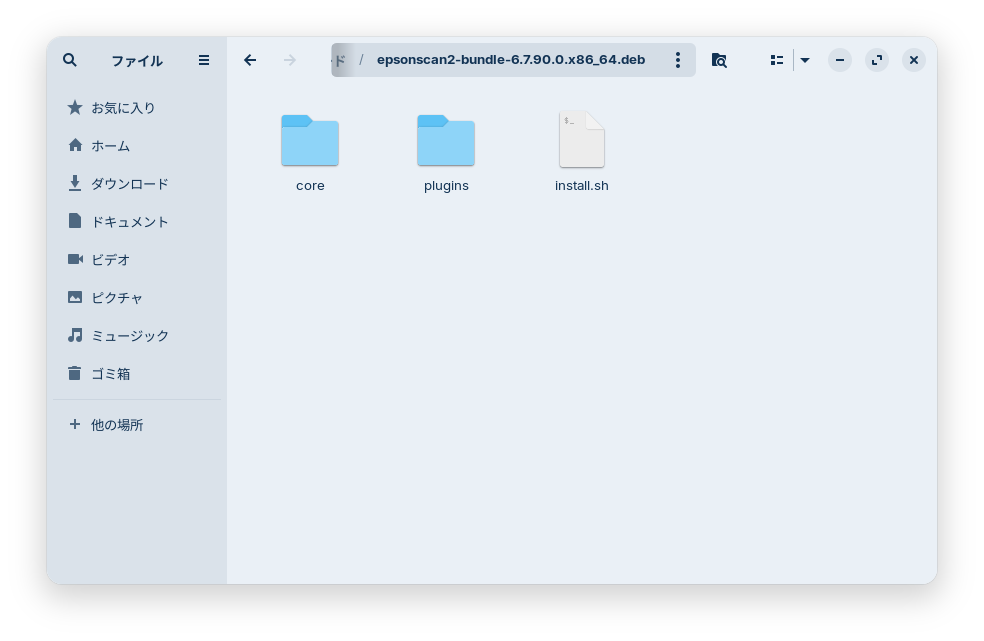
Since the scanner driver was a .tar.gz file, right-click it to extract it.
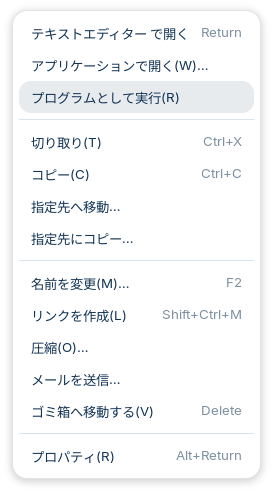
Open the extracted folder, right-click install.sh, and select “Run as Program (R)”.
A terminal window will open; enter your password to complete the installation.
2. Add the printer
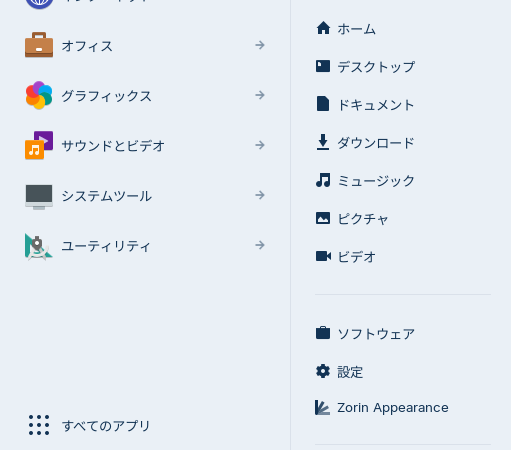
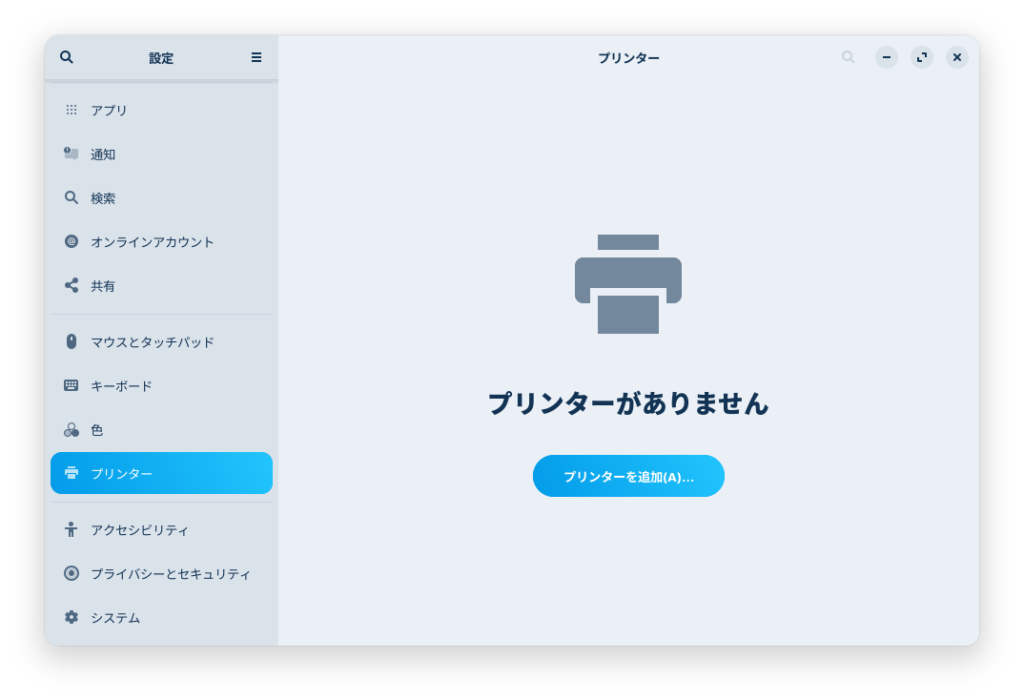
Open Settings by clicking the Start button, then click the Printers tab in the left-hand menu.
Click “Add a printer (A)”.
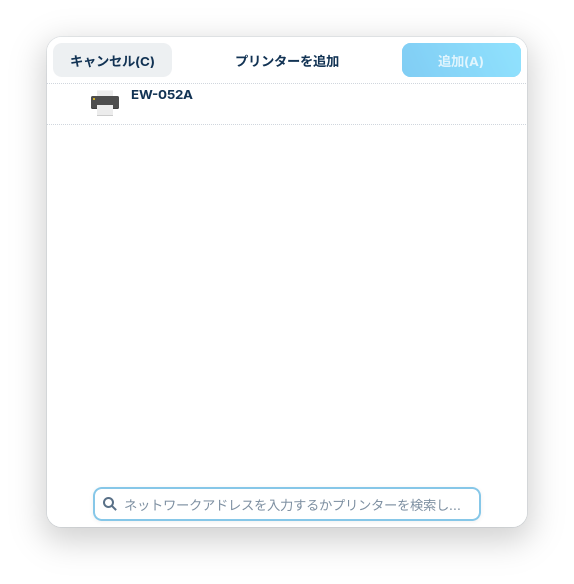
When your printer appears, select it and click the “Add (A)” button in the upper-right corner to add it.
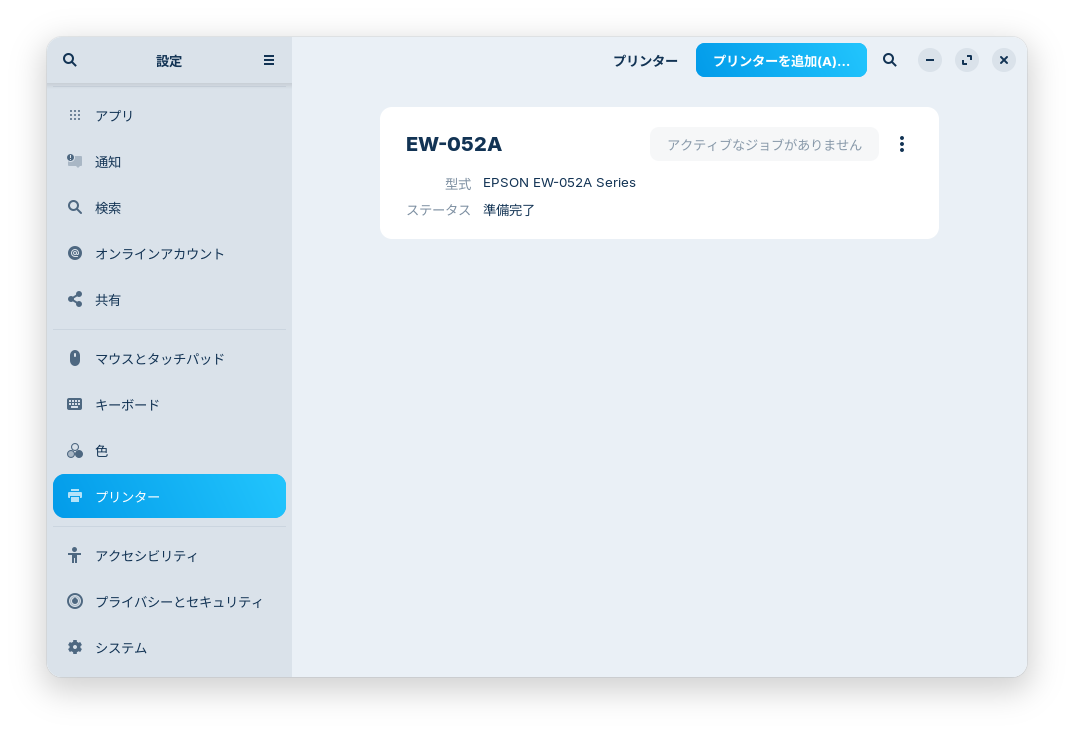
The printer has been added to the Printers tab in Settings.
I performed a test print and scanned the document into a PNG file.

Your printer is now ready to use on Zorin OS 18.1 Core.


Summary
To use a printer on Zorin OS 18.1, download the necessary files (such as drivers) from the manufacturer’s website and install them.
Add your printer in the Printers tab of Settings.
よろしければ応援お願いします


